

How to do Ombre Nail Art- Tutorial with Detailed Steps
Posted by FAZEELA HUSSAIN
The post How to do Ombre Nail Art- Tutorial with Detailed Steps appeared first on StylesGap.com.
Ombre Nail art is very popular and well favored by fashion lover ladies. Girls love to have gradient nails with enchanting colors and shades. Ombre nail art is a kind of manicure in which the gleaming gradient impression is established. It consists of a lighter and a darker part having the light color on the bottom part of the nail that slowly mixes with a darker color on the tip. Instead of going to the makeup artists you can do it yourself at home by learning some of the basic steps and guidelines. Here we are discussing the Ombre Nails Tutorial with Detailed Steps and Procedures. By getting through these simple steps, you can easily do a perfect ombre nail art.
How to get Ombre Nails at Home- Simple Tutorial with Detailed Steps
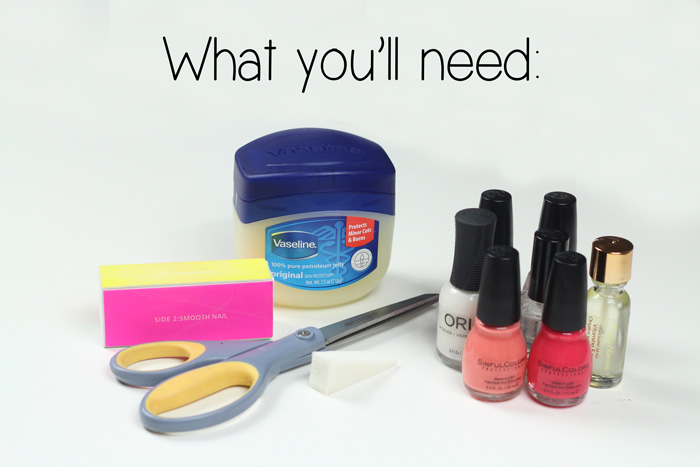
Things you need:
-
Base Coat: I will suggest you to pick white, so it helps the colors to pop. Applying a base will make the color stay on longer and looks perfect on other shades.
white polish. Bought this from any of the good brands. Here it is of China Glaze. - Three contrasting colors. Any stunning shades from light to darkest. They may be black, green, beige, peach or any other.
- A top coat. It may be any color you love, it may be red, brown, pink, orange or any dark shade. Make sure the color you bought must be of the good nailpolish brand and dries super fast to make the nails highly detailed.
- Makeup sponge
- Scissors
- Brush
- Toothpick
- Nail polish remover if needed
- Vaseline if needed
- Cuticle Oil (let it optional)

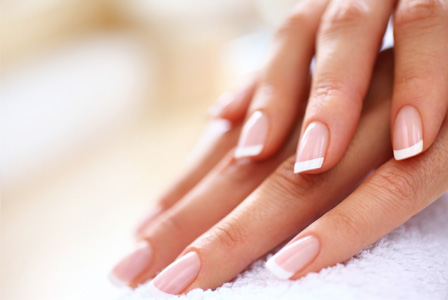
1# Prepare your Nails:
Preparation involves the good manicure of your hands. Soak your hands in warm water so that the oil get cleanse your hands, and your nails get softer. Then trim your nails and give them a fine shape through clipper. If nail polish is present, then remove it with the remover. Make a good shape of them so that they get prepared for the next procedures.
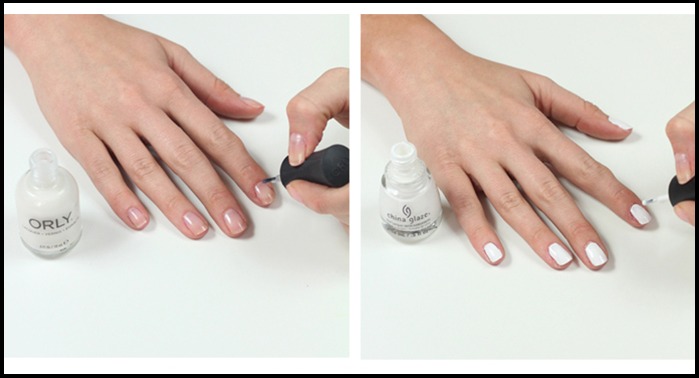
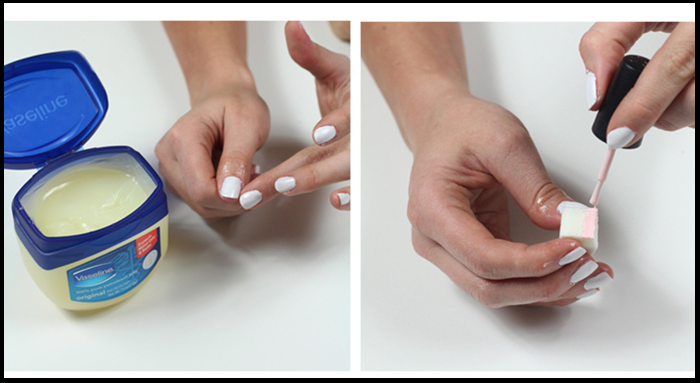
2# Applying base coat and base color:
Your base shade must be lighter than other two colors. You can choose white, peach or any dim shade. Light shades go finest with neon colors to make them detailed and appear. It’s significantly better to implement two thin coats of polish rather than the thicker one.
Make sure that the nail polish is opaque, especially towards the base of the nail. The gradient color at the top of the nail will include small flaws in base coloring. Wait right up until your base color totally get dry before adding more colors.
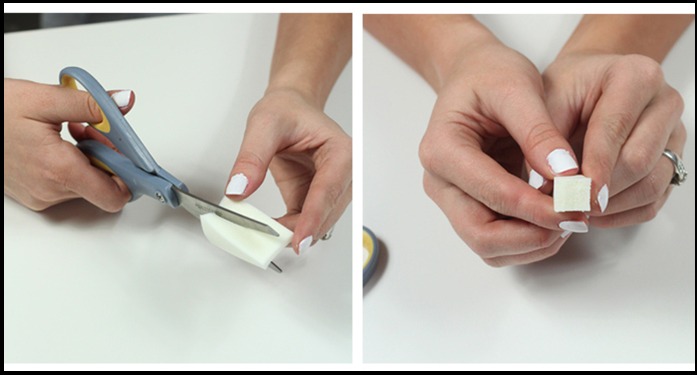
3# Preparing the Sponge by three color Coatings:
Now its the time to get ready the sponge. Slice a makeup sponge in a size so that it perfectly get fitted toward your nail. Apply Vaseline close to your nails so that the polish come off.
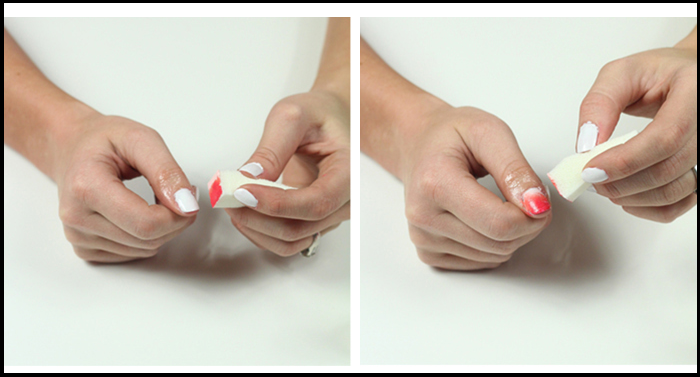
4# Applying Three color Coatings on Sponge:
Make three colors all set that you have chosen and apply a small part of the lightest shade on the sponge. You want there to be enough that it looks wet. Put on the next color to the middle portion of sponge and then Use the darkest color to the top.

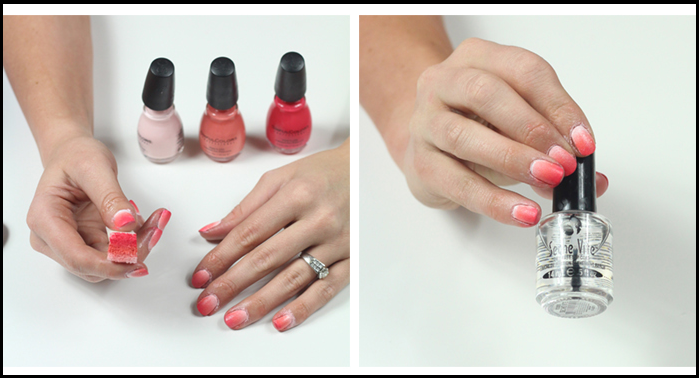
5# Creating the Ombre Effect on Nails:
Mark the makeup sponge onto the nail very carefully so that the entire nail get covered. Repeat it few times. It will seem easy when you start doing it after and after and each time you will make a better ombre nails. Done this procedure on all nails of your hands and leave it for drying. Note: do not touch anything until the paint gets completely dry.
6# Adding Top Coat:
Now at the end apply the top coat when all the layers of polish get dried. The top coat will protect and prolong your nail polish.
7# Cleaning the excess:
After all procedure clean the excess of nail polish with a brush dipped in acetone or by a remover so that the remaining get removed, and you have an amazing ombre look without any flaws!
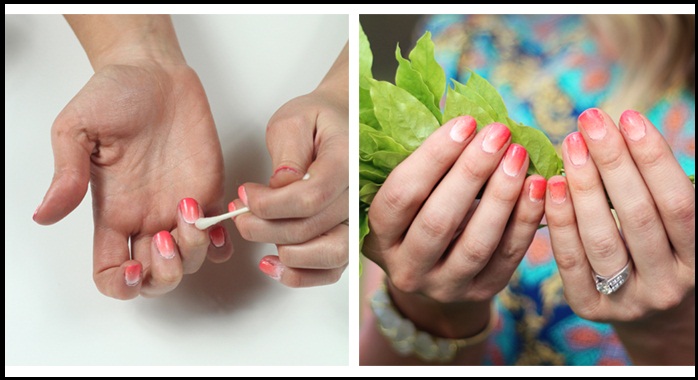
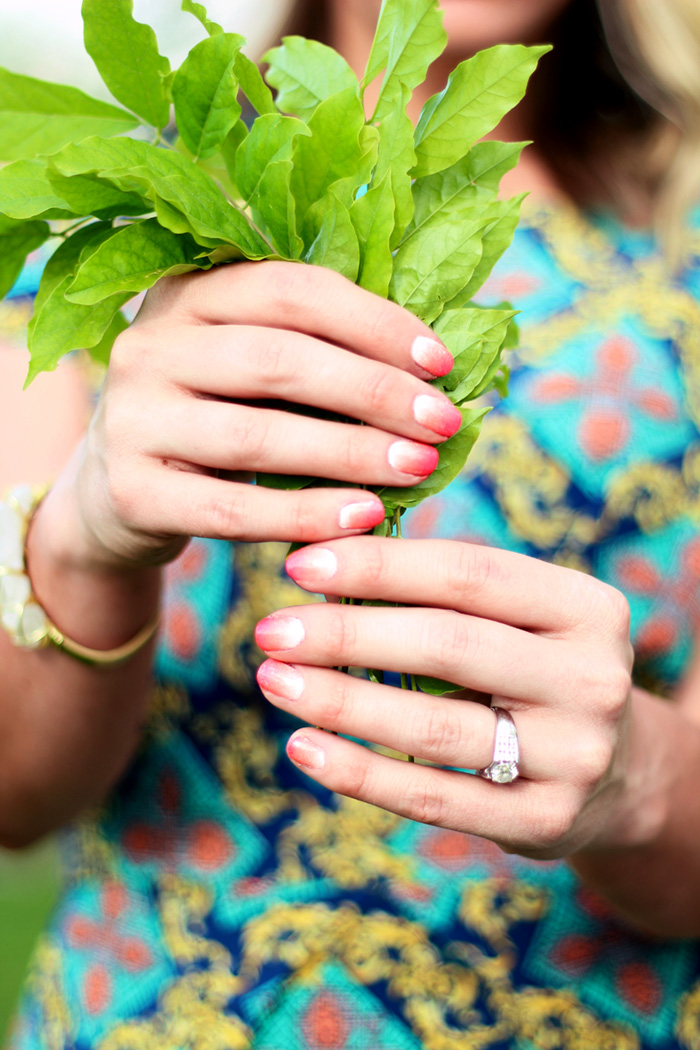
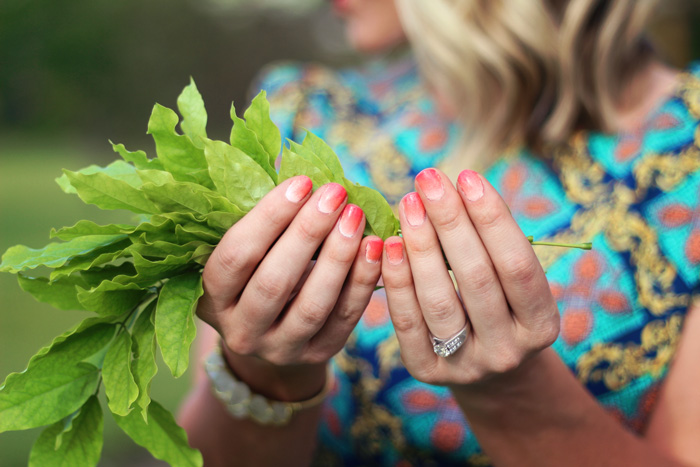
Final Look!
Enjoy the final crispy and chic Ombre look!
Image credits: Twist Me Pretty
See More As:
- Amazing Ombre Hairstyles Tutorial with Pictures
- How to get French Nails at Home-Tutorial with Steps
- Step by Step Tutorial to get Rhinestone Nail Art at Home
- Valentines Day Inspiration Romantic Nails Art Ideas & Designs
The post How to do Ombre Nail Art- Tutorial with Detailed Steps appeared first on StylesGap.com.


