

Your iPhone Could Save Your Life: 6 iPhone Emergency Features
Posted by TIM CHAWAGA
Being prepared can make a potentially terrible situation much more manageable. If you have an iPhone in your pocket, you’re already well-prepared for several different kinds of disasters.
Your phone has more survival tools than a Swiss Army knife, but you should how to use them. Get yourself out of a jam with your iPhone and these six life-saving features.
1. Emergency SOS


If you’re in a life-threatening situation, you can use your phone to covertly call emergency services in your region. Without even taking your phone out your pocket, you can dial 911 and inform your emergency contact of your location. The number your phone will call automatically adjusts to the local area.
Here’s how it works:
- On an iPhone 8 or later, active Emergency SOS by pressing and holding the side button and one of the volume buttons until the Emergency SOS slider appears, then drag the slider to make the call. If you continue to hold the buttons down, a loud alert will play and your iPhone will make the call automatically.
- Those with an iPhone 7 and earlier should rapidly press the side or top button five times, and the same screen will appear.
- If you have set an emergency contact chosen in Settings > Emergency SOS, your iPhone will automatically send that contact a text message with your current location. Should your location change, your contact will receive an update.
No matter what situation you find yourself in, as long as you have one hand free, your iPhone lets you contact the appropriate authorities.
2. Medical ID
Medical ID stores your critical medical information for easy access if you happen to become incapacitated. The same screen that displays Emergency SOS will also display your Medical ID. You can display such information as your date of birth, weight, and height.
Additionally, you can list more medically critical information such as your blood type, whether or not you’re an organ donor, and any medical conditions, allergies, or medications you might be taking.
You can set up Medical ID on your iPhone, and even have that information display on your Apple Watch.
3. Compass


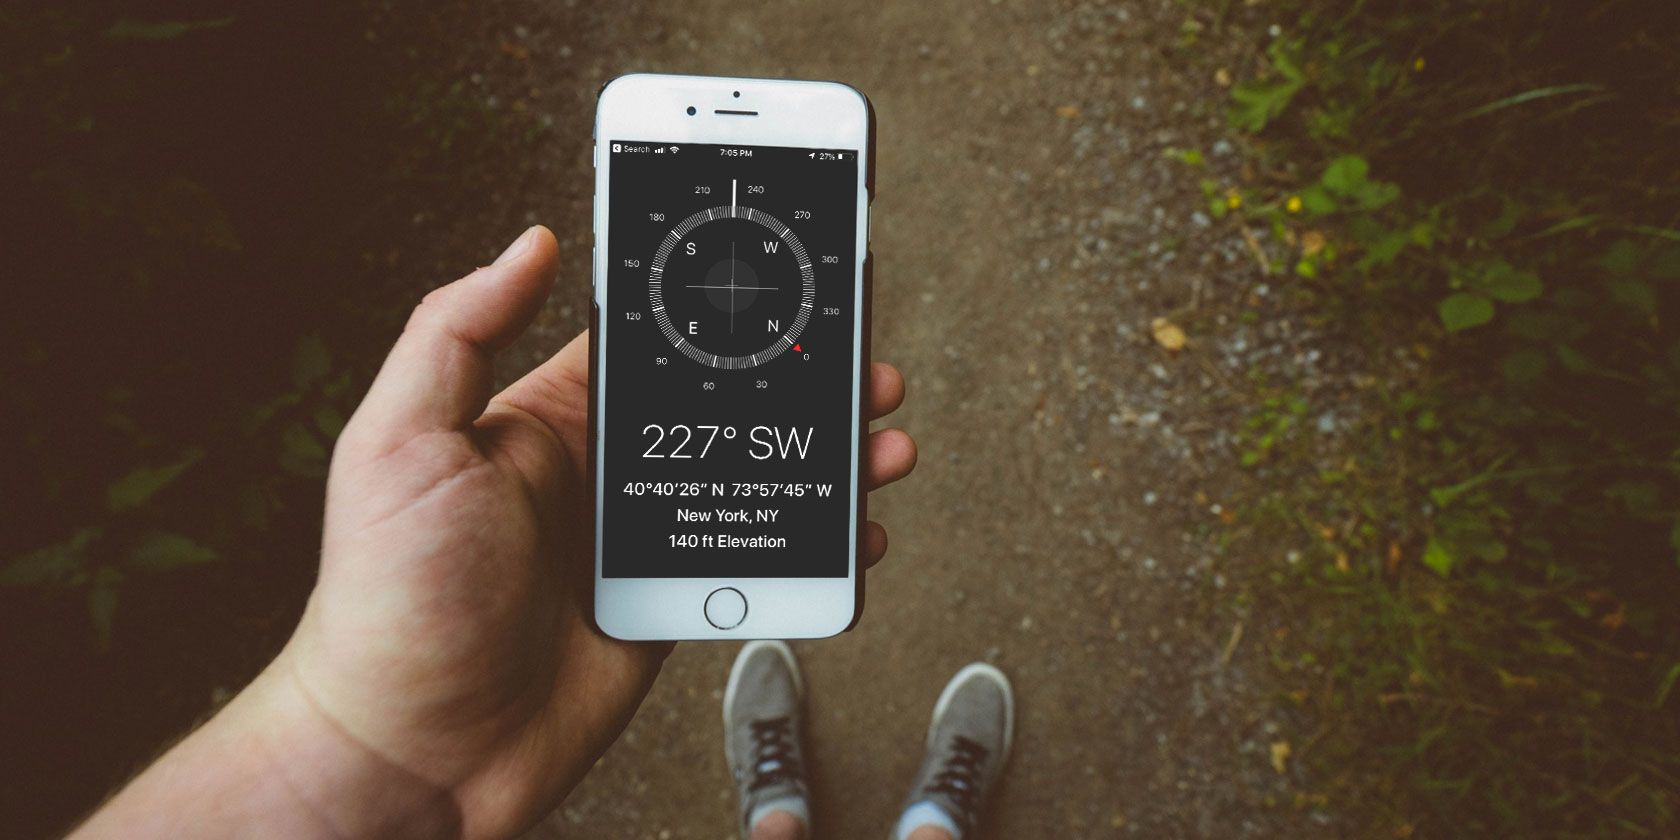
Your iPhone can be handy for backcountry emergencies as well as urban ones. Next time you’re lost in the woods, take out your phone and open up the Compass app.
The Compass app has been a part of iOS for years, but it’s often forgotten among the many other utilities that come with your iPhone. It uses a magnetometer chip to sense the Earth’s magnetic field. This is crucial, because it means you can use it offline. However, accuracy might increase when it can utilize GPS.
Compass works best when you hold your phone flat while using it. Then utilize those elementary school orienteering lessons to get yourself out of the woods when you don’t have service.
You can only orient yourself via true north if you have Location Services enabled and are online. Without that, you’re using magnetic north, just like the pioneers did.
4. Voice Memos and iCloud
If you ever find yourself in the final act of a cop movie, where you need to record a conversation about critical intel and then get it to a rendezvous point, Voice Memos lets you sync instantly with all your devices via iCloud.
All you have to do is go to Settings > iCloud, scroll down, and turn the Voice Memos toggle on. Once you do that, power on your Mac or other iCloud-enabled device , check your iCloud settings to make sure you’re signed in, and open Voice Memos there too.
Get the leverage you need by leaving your computer on at home or another remote location. As soon as you finish recording, your Voice Memo will sync with your other device and will store there.
5. Google Maps (Offline)


When you’re on a road trip in an unfamiliar area, a map is essential. But physical maps these days are few and far between. Everyone uses Google Maps anyway, but what happens when you’re 50 miles out in the desert, hit a fork in the road, and then realize that you have no service?
Fortunately, you can download maps on Google Maps for offline use.
To do this, open Google Maps and go to the area that you want to download. Tap the the three horizontal lines next to the search bar. Then hit Offline Maps. Select Custom map, highlight the area that you want to save, ad choose Download. Maps may take up to 500MB of space.
Obviously you have to do this ahead of time, while you still have service. But once you save an area, it’ll remain on your phone even if you are offline. Just remember that they expire every so often if you don’t update them.
Because GPS doesn’t rely on cellular service, your iPhone can connect to GPS when you’re offline. As this tracks your location, this means that you don’t actually have to be able to find yourself on the map. Just put in your directions as normal.
6. Find My Friends
If you’re heading into a dangerous situation, you can keep your friends and loved ones constantly informed of your location. Find My Friends is a built-in app that allows you to track your friends’ locations and even receive notifications when they leave or arrive somewhere.
To add a friend, either connect with them using Airdrop if you’re in the same physical area, or send them an email request by going to Find My Friends > Add. Once you’re connected, you can choose to share your location with any of your friends. Use it to track them or let them track you, no matter where you go.
You can also let them know when you’ve left or arrived somewhere. Select the name of your contact, hit the More button, and then Notify. With Find My Friends, you’ll never go into a situation without backup again.
Survive in Any Emergency
With these apps, you’ll have a leg up against different emergency situations. Keep them in mind and make sure they’re all active so you’re prepared ahead of time.
These aren’t the only survival tools for your mobile device, though. See how to get emergency alerts on your phone for more. And if you use Android too, have a look at offline Android apps for surviving outdoors.
Read the full article: Your iPhone Could Save Your Life: 6 iPhone Emergency Features


