

How to Upgrade Your Laptop DVD Drive for a HDD or SSD
Posted by CHRISTIAN CAWLEY
Older laptops feature a DVD drive. Increasingly this isn’t required; DVD drives have quickly disappeared from notebook computers in the past few years.
More and more people are opting to abandon the internal optical drive and install a second hard disk drive (HDD). If you’ve noticed that you’ve barely used the DVD drive, you might be considering a replacement storage device. Here’s how to replace your laptop’s DVD drive with a 2.5-inch SSD (solid-state drive) or HDD.
This tutorial is available in video form, or you can read on for the full written tutorial below.
Want to Replace the DVD Drive With an SSD or HDD? Here’s What to Do
Swapping a barely used laptop DVD drive with extra storage is surprisingly easy. All you need is:
- A drive caddy
- A screwdriver
- Plastic lever tool
- Hot glue gun (optional)
The process is straightforward too:
- Order the drive caddy
- Select a new drive: HDD or SSD?
- Remove the DVD drive
- Insert the drive in the caddy
- Fit the caddy in the PC
Furthermore, you can even reuse the old DVD drive as an external disc drive by fitting it into a suitable enclosure. Ready to swap your notebook’s optical drive with a new HDD or SSD for additional storage? Let’s start.
Step 1: Order the Caddy
The drive caddy replaces the DVD drive. In this, you place the chosen extended storage, a HDD or SSD.
At this stage, you might be thinking: “Hang on, there’s no standardized design for laptops. How can this work?” And you would be right… to a point.
While there remains a lack of standardization for laptop computers, the same isn’t true of the upgradeable parts. Additional RAM, hard disk drives, and DVD drives almost always have the same connectors from device to device. This means that they can be swapped.
DVD drives are mostly a certain shape and size. This means that a caddy can be easily slipped into the space that the DVD drive occupied.
Where can you find a HDD caddy? The best place is on Amazon or eBay. A caddy will set you back less than $15.
Aluminium caddy for laptop Aluminium caddy for laptop Buy Now On Amazon $14.99Note that two variations of drive caddy are available, to fit 9.5mm and 12.7mm high drives. The difference is noticeable—you might be able make up the difference with some padding, but this isn’t recommended.
Caddies are equipped with a SATA connector for the new drive, and one to connect the caddy to the laptop. Once slotted in and secured, the replacement drive can then be used for additional storage or dual booting.
Step 2: Choose an SSD or HDD to Replace the Optical Drive
As the idea is to expand the amount of storage available to you, you’ll need a new drive to sit in the caddy. This might be a HDD or a faster SSD.
Check our guide to buying a new disk drive for help here.
Obviously, the capacity of the drive will depend upon your requirements. However, we would recommend installing as large a drive as possible. A high capacity drive has superior backup possibilities. It’s also a good choice for saving personal data to, thereby avoiding data loss should the main HDD fail.
Step 3: Remove the DVD Drive From Your Laptop
With your new secondary disk drive ready to install, it’s time to remove the DVD drive.
Removing a DVD drive is usually straightforward, although this will depend on the manufacturer.
The standard method is:
- Place a towel on your table
- Sit the laptop on it with the lid face down
- Find the DVD locking screw (usually near the middle of the laptop, typically indicated by a small DVD icon)
- Remove the screw
- Pull out the optical drive

Some laptops have a push-button removal system; alternatively, there might be a catch to depress while the drive is removed. This is similar to how you might remove a laptop battery.
In other cases, you might need to use a plectrum, credit card, or plastic knife to dislodge the drive. There should be no resistance, however.

Once fully removed, use a screwdriver or plastic knife to gently remove the DVD drive fascia. Unless your laptop shipped with a spare, blank fascia for the DVD drive bay, you’ll need this later.

You may also need to remove the locking screw hole from the DVD drive. This is attached with two small screws and can be easily attached to the caddy for locking in place.
Step 4: Insert the HDD or SSD Into the Caddy
This should be the easy bit! With your HDD or SSD unpackaged, it should be simple to slip the drive into the caddy.

Depending on the retailer, you may have received a screwdriver with the caddy. Either way, check to see if any screws are included. These will need to be tightened to secure the HDD or SSD in the caddy. Make sure these screws are flush with the caddy when tightened, otherwise it won’t slide into your laptop.
Step 5: Insert the Caddy Into Your Laptop
Next, find the fascia you removed earlier. Another standardized aspect of laptops is the fascia attachment on DVD drives.
Because the eject button has to be in a certain position for universal accessibility, so the fascia attachments have the clips in the same place. Simply attach the fascia, pushing the catches into the slots. Hot glue may be required here, especially if a catch breaks.

With the laptop again upturned on the towel, slide the drive in and use the securing screw to fix the caddy in place. Your laptop has a new storage device, ready to use with any operating system that you have installed. Don’t forget to format it first!

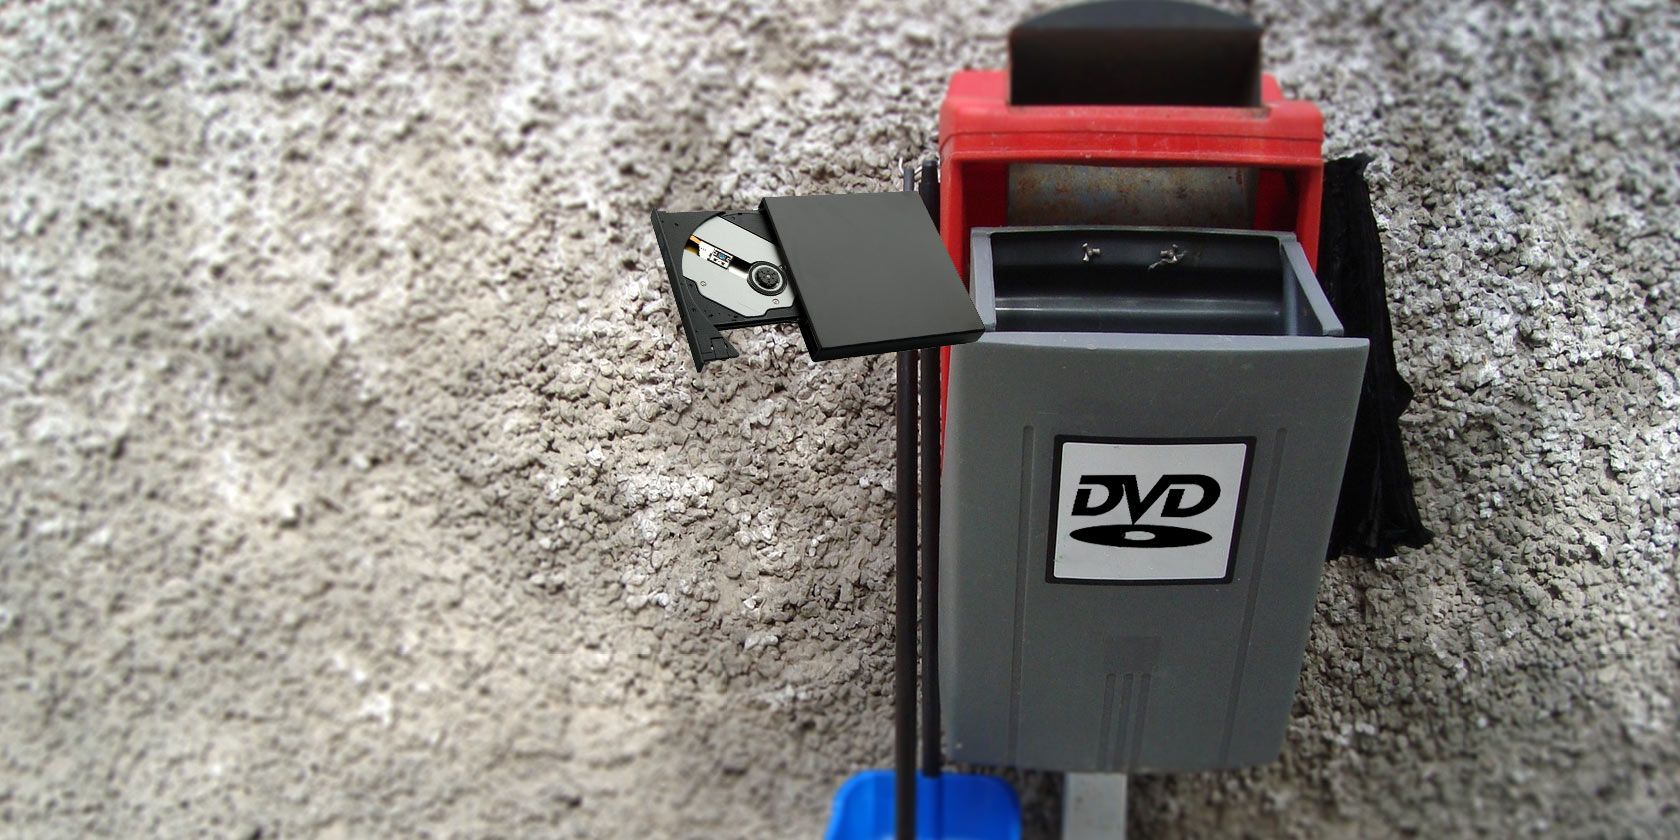
Reuse Your Old DVD Drive
So, you’ve replaced your laptop’s DVD drive with an SSD or HDD. But what about the discarded DVD drive? Well, you can still use it.
It’s possible to install a laptop drive into an external housing that you can easily connect and disconnect from your laptop. All you need is a laptop DVD enclosure and a pair of USB connectors for data and power.
External Enclosure for DVD drives External Enclosure for DVD drives Buy Now On Amazon $9.79Our guide to making an external DVD drive from an old laptop drive should help here. A DIY portable DVD drive can be used with a tablet, ultrabook, or any other device without an optical drive.
Replace Your Laptop DVD Drive With an SSD or HDD: It’s That Easy!
If your laptop has a largely redundant DVD or CD drive, using that space for extra storage is a good idea. With the vast file sizes that HD photography and videos require—not to mention games—having that extra capacity could prove extremely valuable.
Planning more upgrades for your laptop? Check our information on upgrading laptop components.
Read the full article: How to Upgrade Your Laptop DVD Drive for a HDD or SSD


