

How to Turn On or Off Autocorrect for Android and Samsung Devices
Posted by DAN PRICE
Android’s autocorrect feature can be both a blessing and a curse. One minute, it’ll save you from an embarrassing typo in a message to your boss. The next, you’ll be left blushing as you send something wholly inappropriate to a family member.
It’s time you took back control. If you want to learn how to turn on autocorrect on your Android device, plus how to turn it off autocorrect again, keep reading. We’ll also touch on a few other settings to help you get the autocorrect feature working the way you want.
How to Turn Off Autocorrect on Android
By default, most Android devices come preinstalled with Gboard, Google’s in-house keyboard app. If you use using Gboard, you can follow our instructions to turn off autocorrect.
If, however, you instead use one of the many third-party keyboards for Android, the instructions might differ slightly. Consult with your keyboard developer’s official literature for more information.
The toggle to disable autocorrect on Gboard is hidden deep within your phone’s Settings menu.
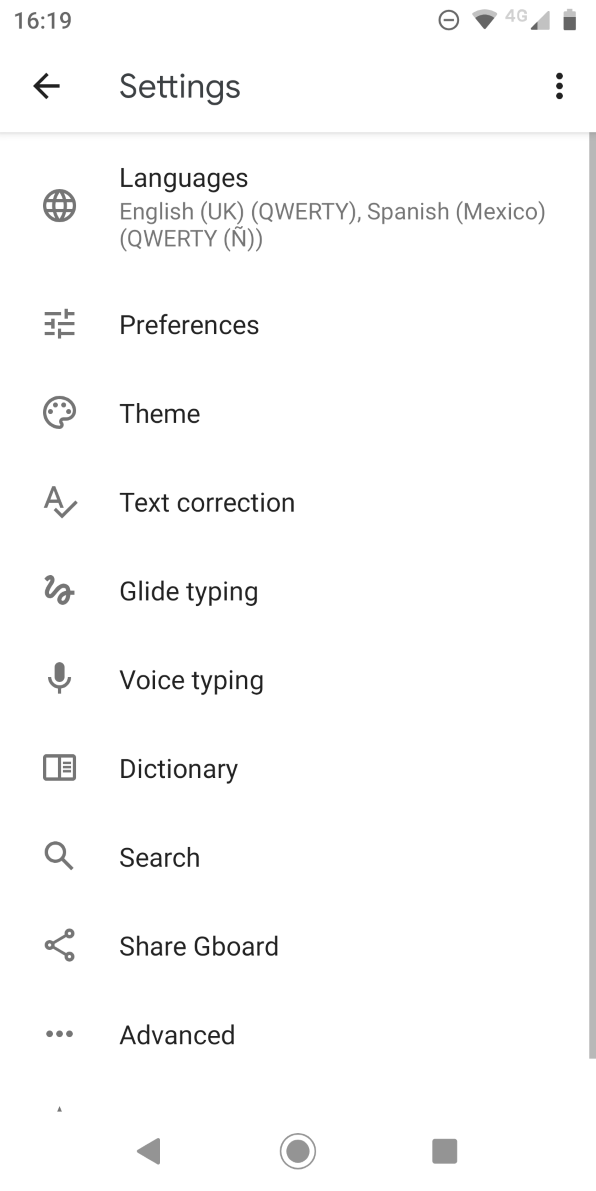
To reach it, you’ll need to open Gboard settings. You can do this through the Settings app by going to Settings > System > Languages and input > Virtual keyboard > Gboard. For a faster method, open your keyboard and long-press on the comma key, then tap the gear icon that appears.
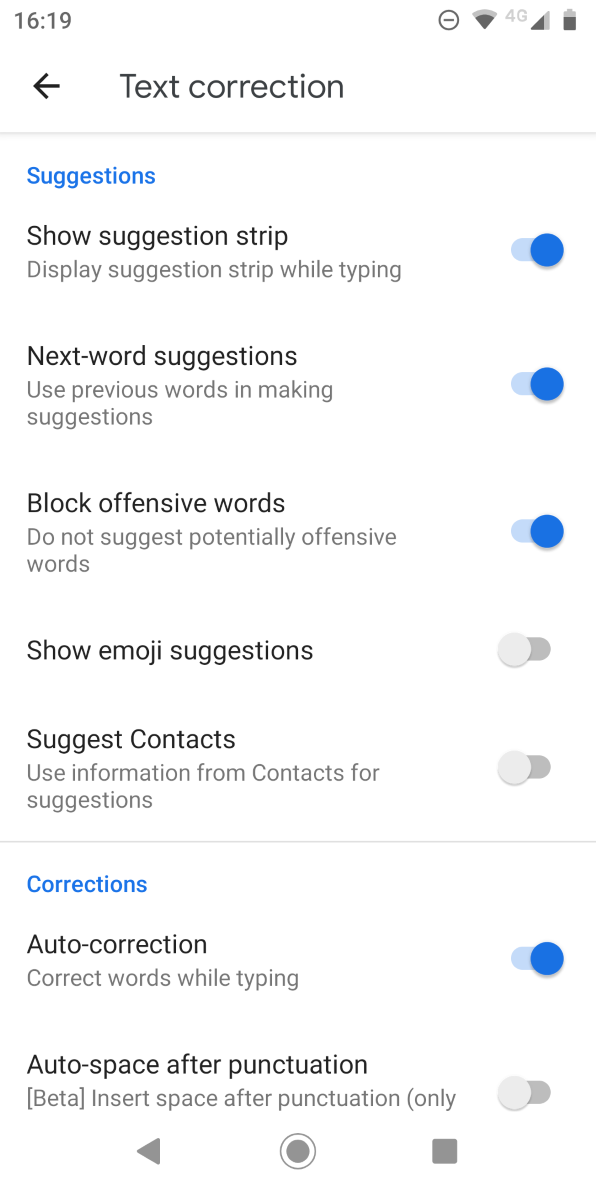
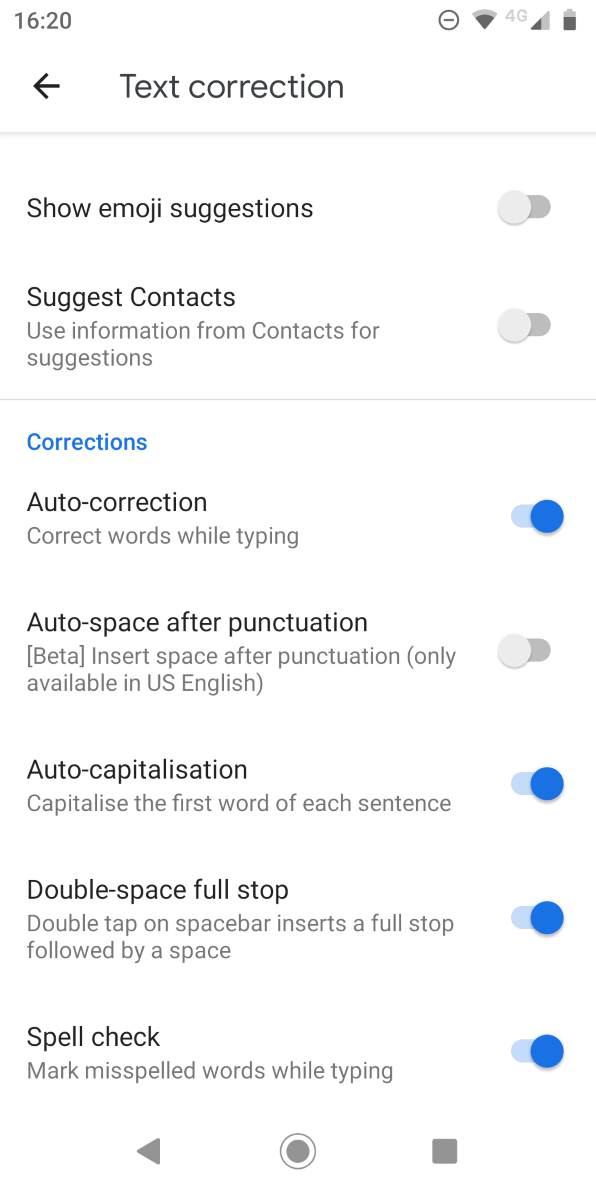
Once you reach Gboard’s settings with either method, select Text correction and under the Corrections heading, slide the toggle for Auto-correction into the Off position.
How to Turn On Autocorrect on Android
If you change your mind later, you can re-enable the autocorrect feature at any time.
Simply perform the same instructions as above, tweaking the final step:
- Open the Settings app and go to System > Languages and input > Virtual keyboard > Gboard.
- Alternatively, open the keyboard, hold the comma key, and tap the gear icon.
- Choose Text correction and scroll down to the Corrections section.
- Locate the toggle labeled Auto-correction and slide it into the On position.
Again, if you’re using a different Android keyboard, you might find that the instructions vary. Any keyboard you have installed should appear under the Virtual keyboard section of the Settings app. Open it from there, then you’ll need to look for the appropriate setting.
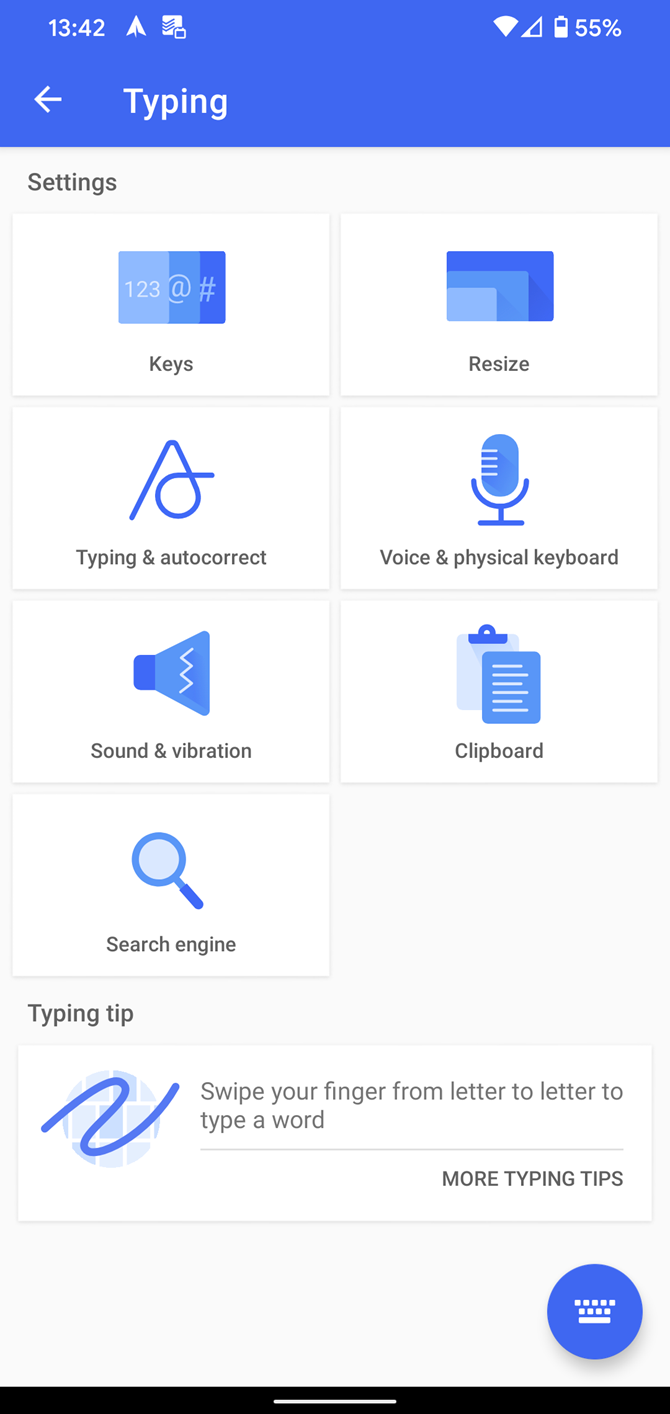
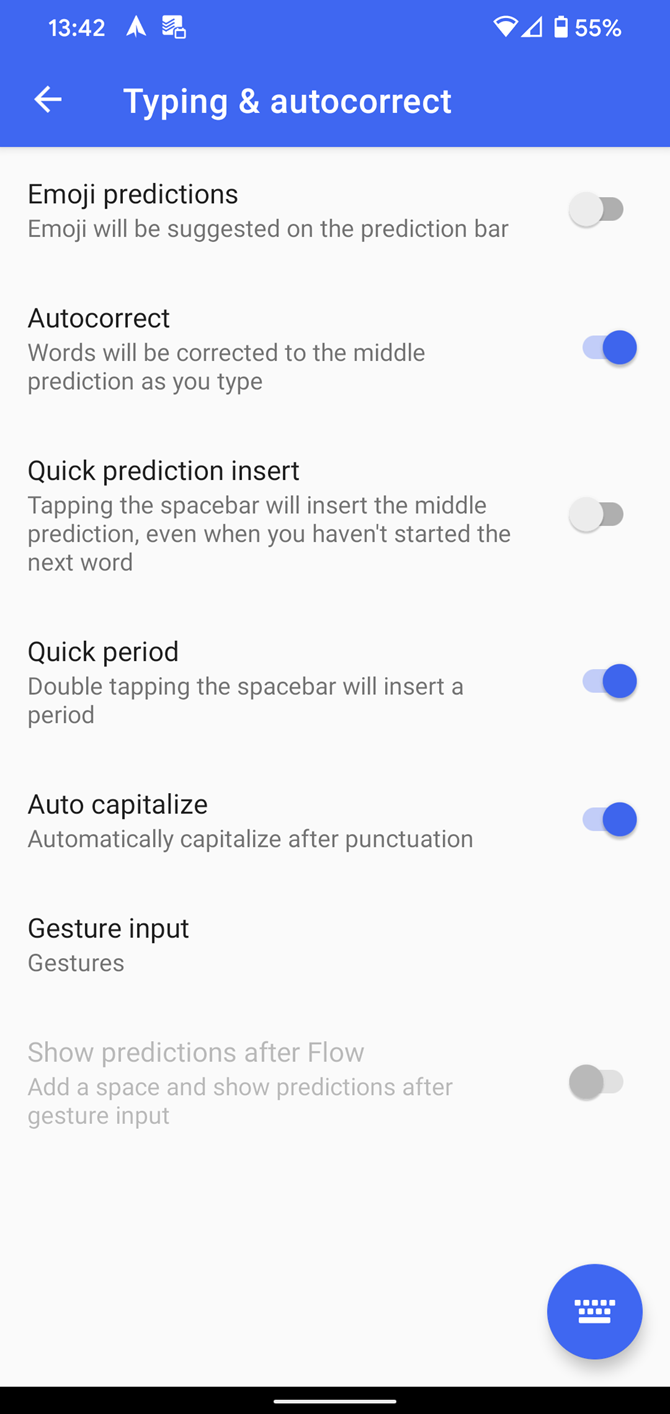
SwiftKey, for example, has autocorrect under Typing > Typing & Autocorrect > Autocorrect.
How to Turn Off Autocorrect on Samsung Devices
If you’ve ever owned a Samsung phone or tablet, you know that the company does not use the stock Android operating system. Instead, Samsung devices run a proprietary skin on Android. This is now known as Samsung Experience, but was previously called TouchWiz.
Stock Android and Samsung’s skin differ in a lot of ways, one of which is how to turn autocorrect on and off.
Below are instructions for disabling autocorrect on Samsung devices running Android 10:
- Visit Settings > General management > Language and input > On-screen keyboard.
- Select Samsung Keyboard, assuming that you’re using the built-in solution.
- Choose Smart typing.
- Turn Predictive text off.
To turn off autocorrect on older Samsung phones and tablets, you need to use these instructions instead:
- Open the Settings app by heading to Apps > Settings.
- Scroll down to the System section.
- Tap on the icon labeled Language and input.
- Select Default from the list of options available. This may have a different name if you have other keyboard installed.
- Scroll down until you find the Auto replace menu item, and select it.
- Flick the toggle in the upper right-hand corner into the Off position.
(Note: If you have multiple keyboard languages installed, you can turn on/off autocorrect for each language layout individually using the checkboxes alongside the languages on this page.)
How to Improve Autocorrect on Android
We’ve all seen those funny autocorrect screenshots. When you read some of them, it is understandable why you might have a sudden urge to turn off autocorrect on your Android device.
In truth, however, such drastic measures are rarely required. Android keyboards have a bevy of options that allow you to tweak, refine, and improve the autocorrect feature, thus making it work better for your needs.
Let’s take a quick look at some of the other settings that are worth investigating. These mainly apply to Gboard, but you’ll find similar options on most keyboard apps.
Auto-Capitalization

Android can automatically fix capital letters at the start of sentences and on proper nouns as you type.
In normal circumstances, it is a useful feature. But for some people, it might not be ideal. Lots of words are both proper nouns and regular nouns (for example, “Turkey” the country and “turkey” the bird). If you find yourself using such words regularly, you might want to turn off the auto-capitalization feature.
You can do so by heading to Settings > System > Languages and input > Virtual keyboard > Gboard > Text correction > Auto-capitalization. Slide the toggle into the Off position to disable it.
Spell Check
Rather than relying on the autocorrect feature to fix your errors, you could just use Android’s native spell check feature. It will alert you to typos and other misspelled words using those familiar squiggly red lines under the text.
To turn spell check on or off on Android, you need to go to Settings > System > Languages and input > Virtual keyboard > Gboard > Text correction > Spell check and flick the toggle into the desired position.
(Note: If you wish, you can run the spell-check and autocorrect tools simultaneously.)
Customize the Android Dictionary
You will always come across some legitimate words that are not part of Android’s built-in dictionary. Obscure place names, brand names, and specific jargon related to your job are common culprits.
It gets old really fast when Android continually tries to autocorrect “Sonos” into “sonar” or “Logitech” into “logical.” To prevent this from happening—and save yourself some stress in the process—you should add the words to your personal dictionary.
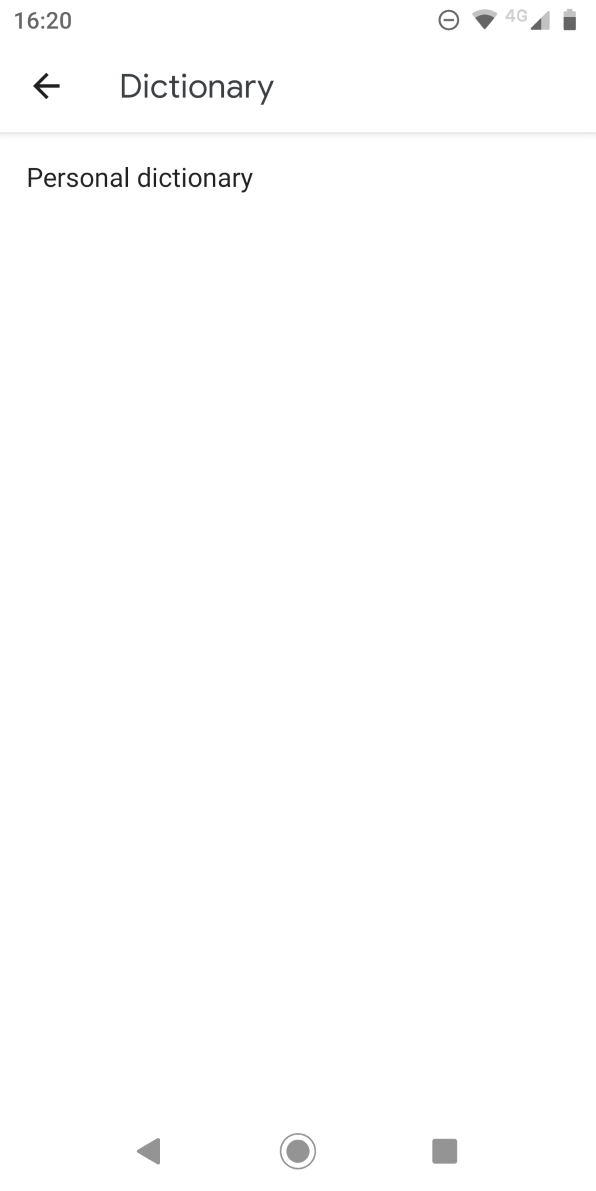
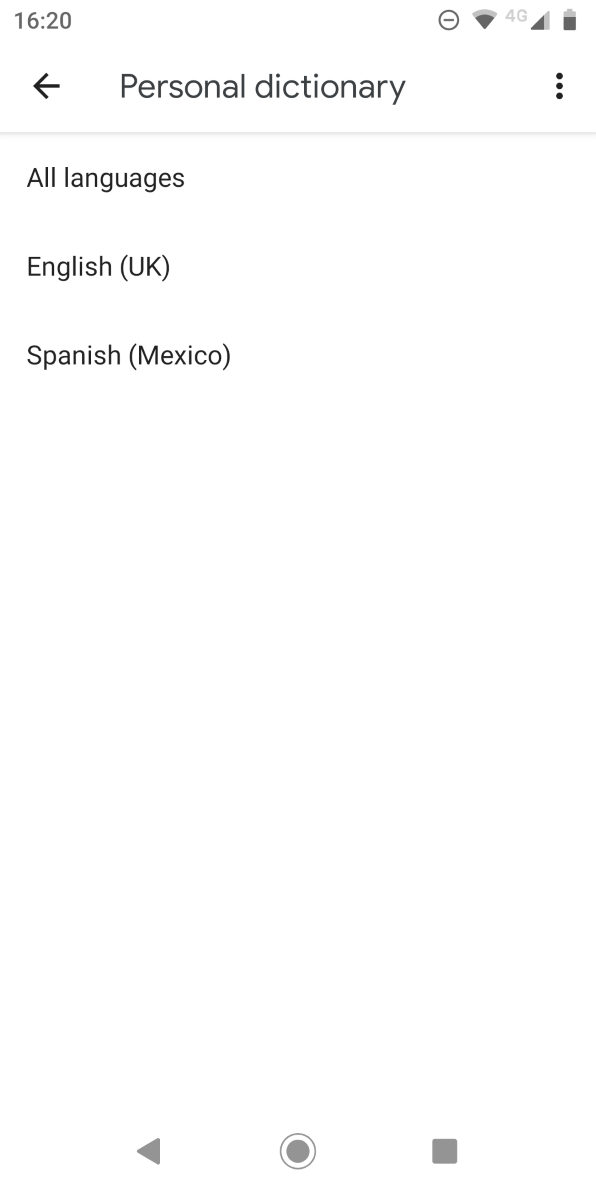
You can access the dictionary by heading to Settings > System > Languages and input > Virtual keyboard > Gboard > Dictionary > Personal Dictionary. Tap the language you’d like to edit the dictionary for, even if you only have one installed. Then you can use the Plus button to add new words.
Try Voice Typing
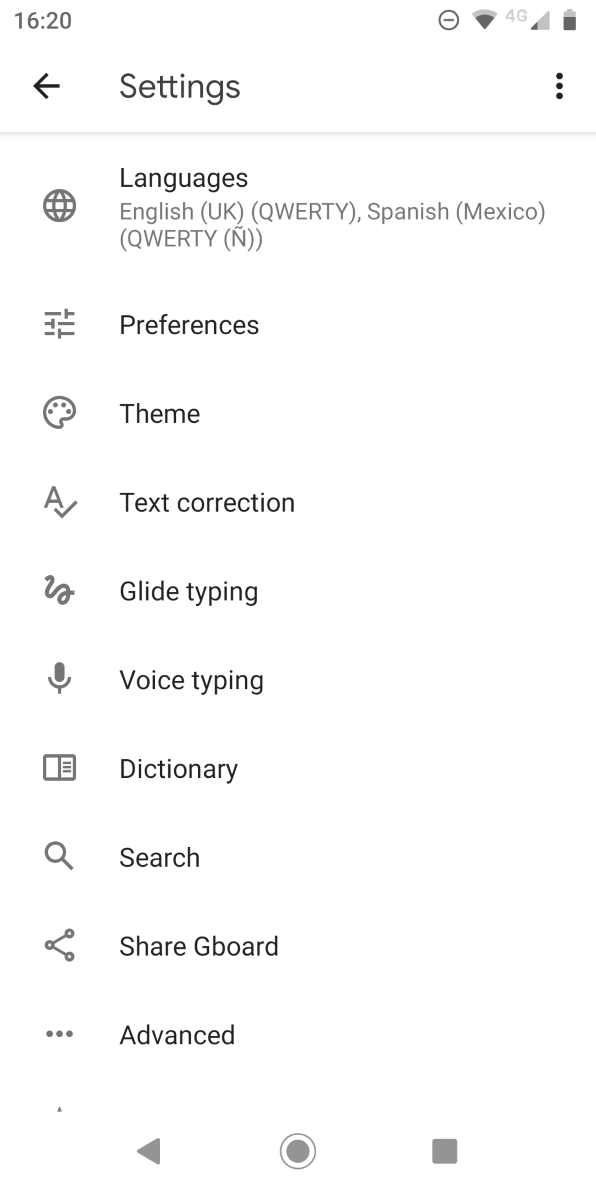
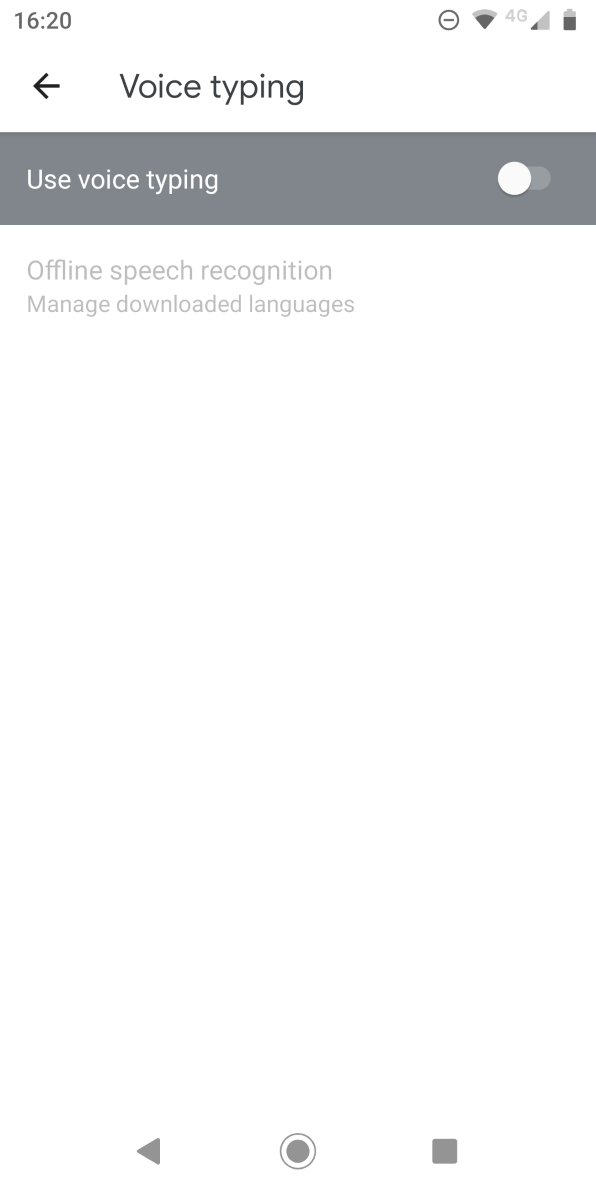
Some keyboard (including Gboard) provide you with alternative ways to type on Android. One of these is using your voice rather than an on-screen touch keyboard.
From an autocorrect standpoint, you’re less likely to make a typo when speaking rather than typing. However, you’ll introduce the issue of potentially misunderstood words.
If you would like to try voice typing, go to Settings > System > Languages and input > Virtual keyboard > Gboard > Voice typing and turn the toggle on. Then you can tap the Microphone icon at the top-right of the keyboard to speak.
If you use another keyboard, you can also switch to Google voice typing using the keyboard switch button that appears while typing.
Learn More About Typing on Android
Turning autocorrect on and off is only one small way you can improve the typing experience on your Android device. For example, you can change the keyboard’s theme, install third-party options, and even switch to a non-QWERTY keyboard layout.
To learn more, have a look at ways to type more efficiently with Gboard, or even consider changing your Android keyboard entirely.
Read the full article: How to Turn On or Off Autocorrect for Android and Samsung Devices


