

How to Take Control of Annoying iPhone Notifications With iOS 12
Posted by KHAMOSH PATHAK

Ever since Apple introduced the Notification Center in iOS 5, we’ve waited for new features to put us in control of notifications. But over time, it actually got worse.
Notifications became the preferred way for apps to capture your attention. In the eyes of the Notification Center, a gaming app pestering you about buying coins was just as important as an email from your boss.
But with iOS 12, this is starting to change. Apple is making notifications easier to deal with; your Lock screen can finally be clutter-free.
Using Grouped Notifications
One of the best parts of iOS 12 is how it automatically groups related notifications. Instead of seeing 20 notifications from the same WhatsApp thread, you’ll now only see one stack. You can tap on a stack to expand it and view all the individual notifications.
3D Touch or swipe left to take action on an individual notification or the whole stack.


Disable or Customize Group Notifications
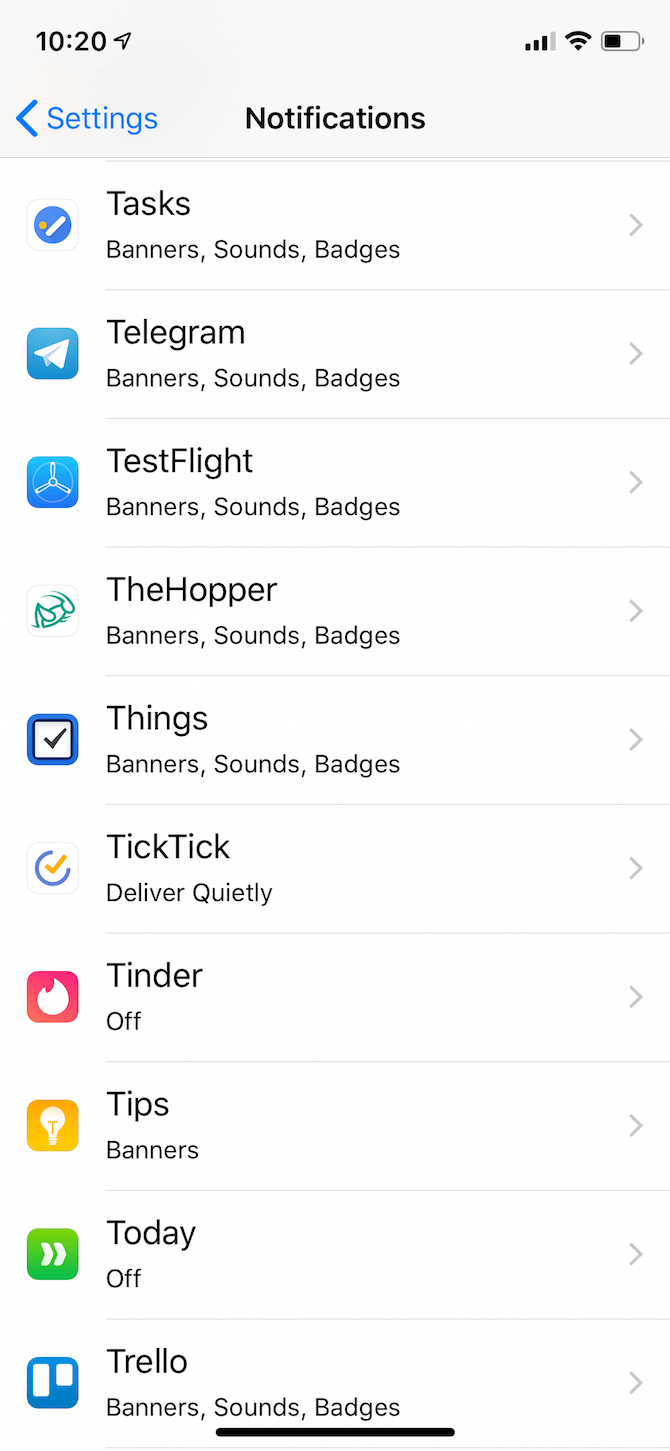
Notifications in iOS 12 are grouped automatically, based on context (location, app, and threads). By default, you don’t really have control over how a particular app groups notifications. And while there’s no global switch to disable grouped notifications altogether, you can change the behavior on a per-app basis.
iOS 12’s default behavior is weird sometimes. If you use a messaging app like WhatsApp often, you might end up with multiple stacks of messages, even if they’re from the same conversation. On the other hand, there might be important apps (like medication reminders) where you don’t want the notifications to be grouped at all.
To adjust this, go to Settings > Notifications > App > Notification Grouping. The default is the Automatic option. To force iOS 12 to group all notifications from an app in one neat stack, tap on the By App option. If you want to turn off grouping altogether, select the Off option.


Disable Notifications From the Lock Screen
Finally, you can disable notifications for an annoying app directly from the Lock screen—there’s no need to go to the Settings app. When you get a notification from an app you’d rather not see any notifications from, swipe left on the notification and tap the Manage button.
This will bring up the new notification tuning menu. From here, simply tap the Turn off option. Now the app won’t bother you anymore.


Temporarily Disable Notifications From Lock Screen
One of my favorite features in iOS 12 is hidden in the notification tuning screen. It’s called Deliver Quietly and it’s something you should take note of.
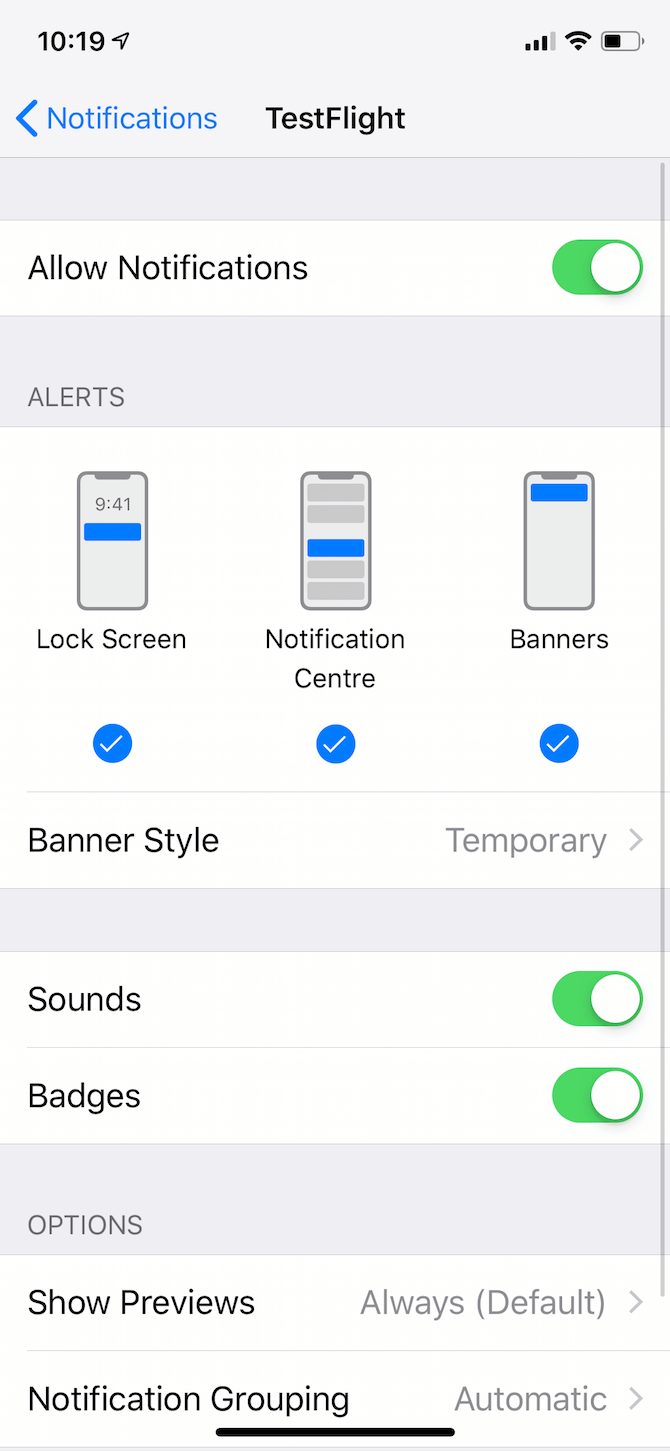
Swipe left on a notification from the Lock screen, tap the Manage button, and you’ll find a new Deliver Quietly option. This feature is genius: it basically flips several different notification settings switches at the press of a button.
When you tap the Deliver Quietly button, iOS stops the app from showing up on the Lock screen. It also disables its sounds, banner notifications, and app icon badges. But the notification will stay available in the Notification Center.

After unlocking your iOS device, you can swipe down from the top of the screen to see it. But it will no longer buzz your iPhone, or show up on the Lock screen. Simply put, it won’t ask for your attention anymore.
I’ve found the feature really useful for temporarily disabling app notifications. Let’s say you want to mute WhatsApp for a couple of hours, but don’t want to enable Do Not Disturb. Using the Deliver Quietly feature is a good workaround.
Reversing the effect is quite easy. If the notification is still visible in the Notification Center, go to the Manage section again. The Deliver Quietly option will be replaced by Deliver Prominently. Tap it to go back to the default behavior.
If the notification isn’t available anymore, go to the Notifications section in Settings and find the app. It will show Deliver Quietly as the current status. Go in and enable the Sounds, Badges, and alerts for Lock Screen and Banners. You’re now back to the default behavior.

Do Not Disturb During Bedtime
Do Not Disturb mode has a new toggle called Bedtime. When enabled, the Lock screen will dim itself and hide all notifications. The only way to get to your notifications is to turn off Do Not Disturb.
If you already use Do Not Disturb, we recommend you go to Settings > Do Not Disturb and enable the Bedtime feature. It will help you get a good night’s sleep, and is especially useful for notification addicts. Schedule Do Not Disturb an hour before you sleep and extend it to an hour after you wake up. This way, you won’t be tempted to act on your notification impulse instantly.


Enhanced Do Not Disturb Mode
While iOS still doesn’t have an app-based Do Not Disturb feature (something I’ve hoped Apple would steal from Android), there are some useful new enhancements to how Do Not Disturb works in iOS 12.
From Control Center, try 3D Touching (or long-pressing) the Do Not Disturb toggle. You’ll now see a new pallet with a variety of options for enabling Do Not Disturb: For 1 hour, Until this evening, Until I leave this location, and Until the end of this event.

The last two options are really useful if you work in an office environment and you keep your meetings synced with the Calendar app.
Turn Off Siri Suggestions
Siri is everywhere in iOS 12, and for good reason. Other than the new Shortcuts app, you can use Siri to automate tasks that you frequently do on your iPhone or iPad. But Siri can be a bit too proactive, especially when it comes to the Lock screen.
Some Siri Suggestions on the Lock screen aren’t that useful. A reminder to call someone back while the Phone app has the missed call notification right on top of it isn’t exactly useful (or that smart).
If Siri Suggestions on the Lock screen are getting a bit too annoying, you can turn them off. Go to Settings > Siri & Search and turn off the Suggestions on Lock screen option.
If you want to disable suggestions for a particular app, scroll down, find the app, and disable the Search, Suggestions & Shortcuts option. This will stop the app from showing up in Lock screen suggestions, Spotlight suggestions, and in the Shortcuts app.


New iPhone? Do This
A new iOS update also means new iPhones. If you’re setting up your device, you should make some tweaks to get the most out of your new iPhone. Try customizing the Control Center, enabling iCloud Photo Library, and of course, don’t forget to tweak notification settings!
Read the full article: How to Take Control of Annoying iPhone Notifications With iOS 12


