

How to Restore Your iPhone or iPad From a Backup
Posted by TIM BROOKES

It’s always a good idea to make regular backups of your iPhone’s data, but it’s also important to know what to do with it when the time comes. Fortunately, restoring a backup to your iPhone is a straightforward process.
You have two options when backing up your device: back up to iCloud, or back up to iTunes. The methods used to restore these two backups differ slightly. Here are the benefits and drawbacks to both ways of restoring your iPhone.
Should You Restore From iTunes or iCloud?

Ideally, you will have both an iCloud and iTunes backup available to you. You can enable iCloud backups under Settings > [Your Name] > iCloud > iCloud Backup. They take place when your phone is plugged in, connected to Wi-Fi, and on standby mode. Because they’re stored online, you must restore them from the internet.
iTunes backups are created manually by connecting your iPhone to a Mac or Windows PC running iTunes, clicking on the Summary tab, and choosing Backup Now. These backups are stored locally on your computer, though they can take up quite a lot of storage space.
Ultimately, your most recent backup is the best bet. If you’re upgrading from an old iPhone to a new one, you’ll want to connect the old one to iTunes, perform a full backup, then restore your new one with the backup you just made.
Protip: If you got a new iPhone today, backup and restore to the new phone using iTunes (encrypted backup), not iCloud, or else it won't save any of your app settings, and you'll have to re-sign in to all of them.
— ThioJoe (@thiojoe) September 21, 2018
Similarly, if you’re restoring an iPhone from iCloud, you’ll need to reset the iPhone to factory settings in order to get access to the iCloud restoration option. In this instance, make sure there’s nothing left on the phone that you want to keep before you initiate the reset.
How Long Does It Take to Restore an iPhone?
It depends on which method you use. Restoring an iPhone from iTunes will be significantly quicker since your device is backed up locally and isn’t bound by internet speeds. Depending on the size of your backup, your iPhone may restore within 30 minutes. In some cases, it could take longer than an hour.
Once you’ve restored your iPhone from iTunes, your apps and other iCloud data will still need to download. This process can take a long time, depending on how many apps you had installed. Your apps are not stored in your iTunes backup, but a list of apps you had installed (and your home screen configuration) is saved instead.
iCloud backup and restore is the simplest, easiest and greatest. 28 minutes from turning on new iPhone to a fully restored home screen with all apps, everything logged in and ready to go. That’s the real magic right there!
— Nirave ??? (@nirave) September 25, 2018
If you opt to restore from iCloud, then you could end up waiting significantly longer. The initial restore procedure will take as long as your internet connection needs to download the backup, plus the time it takes your iPhone to unpack and restore the backup.
Once your iPhone has restarted, other iCloud information and apps will need to download. This includes information like contacts, bookmarks, notes, Health data, and your iCloud Photo Library. Apps will also need to download, though you can tap on placeholder icons to prioritize some apps over others.
Speaking from personal experience, I’ve had the iCloud restore process take well over 12 hours on a slow connection. I tried a few years later and it was all over in about 90 minutes. You should allow a day or so in total for your device to return to normal following an iCloud restore.
First, Update Your Software

Before you start, it’s always a good idea to update your software. Having the latest version of iTunes and iOS will help ensure that nothing goes wrong during the restoration process. You can restore old versions of backups to new versions of iOS, but you can’t restore backups made on the newest version of iOS to an outdated device.
It’s also easier to update your new iPhone right away, without having to worry about losing any of its data should the update process fail for some reason.
- Update iTunes for Mac: Launch the Mac App Store and click on Updates, then choose Update All.
- Update iTunes for Windows: Launch iTunes for Windows, then click on Help > Check for Updates and follow the instructions.
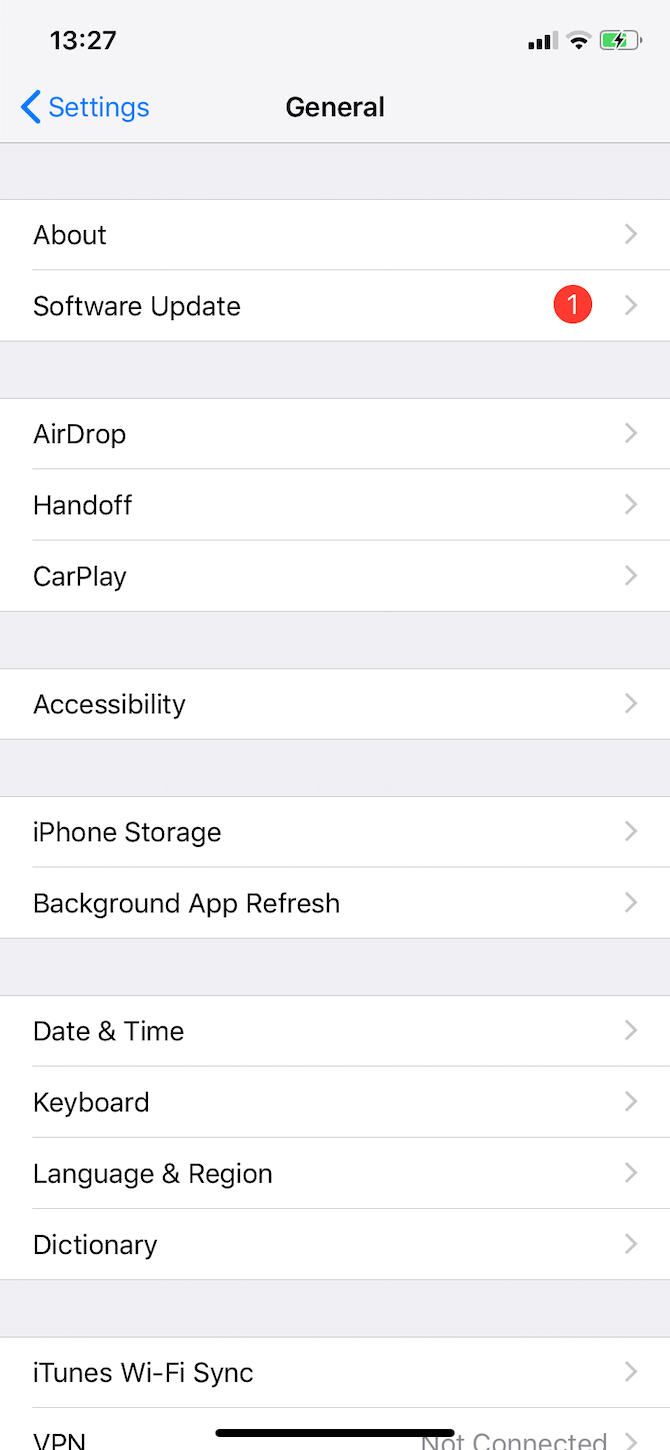
- Update your iOS device: On your device, head to Settings > General > Software Update and tap Install when prompted.
How to Restore an iPhone From iTunes

- Launch iTunes for Mac or Windows.
- Connect your device via Lightning cable.
- Click on the device icon, then select your iPhone, iPad, or iPod Touch.
- On the Summary tab, click on Restore Backup, then choose the backup you want to restore from the list.
- Wait for the process to complete before unplugging your device.
Note: If you’re storing your iTunes backups elsewhere (like an external drive or network location), make sure your computer can see this location before you start iTunes.
How to Restore an iPhone From iCloud
If your device is brand-new, skip to step four:
- Make sure there is no data you want to keep on the device you will restore to (your new iPhone), and that it’s connected to a power source.
- On the device you want to restore, head to Settings > General > Reset and choose Erase All Content and Settings.
- Proceed with the reset by entering your Apple ID password when prompted.
- When your device restarts it will be in an as-new condition, so activate it as you would any other new device and continue setting it up.
- When prompted to choose how you want to set up the device, choose Restore from iCloud Backup.
- Begin the restoration process and wait.
When you see a lock screen, you should be able to start using your iPhone. Be aware that the restoration process will likely continue even after your device is usable.
Restoring Your iPhone Made Easy
Restoring your device isn’t difficult. All you really need is a recent backup and some patience. If you haven’t yet invested in some iCloud storage, it might be worth it in order to safeguard the data stored on your iPhone.
A 50GB iCloud plan is only $1 per month, and you can put any spare iCloud storage you have to good use.
Read the full article: How to Restore Your iPhone or iPad From a Backup


