

How to Record Your iPhone Screen
Posted by SANDY WRITTENHOUSE
Being able to record your iPhone screen comes in handy for a variety of reasons. You might record your screen to show a friend or family member how to do something on an iPhone. Perhaps you have a blog where you post short video tutorials for iOS. Or maybe you want to start your own YouTube channel full of iPhone how-to videos.
Whatever the case may be, it’s now easier than ever to create a screen recording on iOS. We’ll walk you through how to record your iPhone screen with a built-in tool as well as a few iPhone screen recorder apps.
How to Screen Record on iOS 11 and iOS 12
One of the new features in iOS 11 was a convenient new tool that allows you to record your screen. Not only is this utility built right into iOS, it’s super easy to use and doesn’t cost a dime.
Enable the Screen Recording Tool
In order to use the screen recording tool on iOS, you’ll first need to enable it in your Control Center. To do this:
- Open Settings and select Control Center.
- Tap Customize Controls.
- Scroll down under More Controls, and you should see Screen Recording. Tap and drag it to the top under the Include header.


Start Your Screen Recording
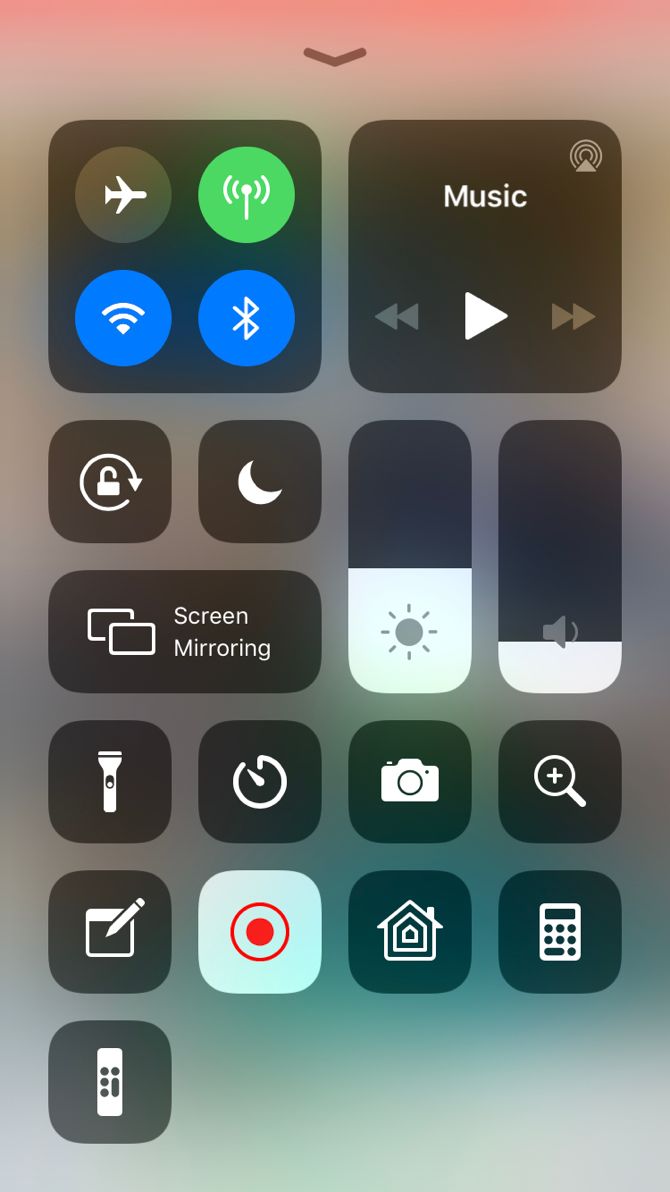
- Open Control Center. On an iPhone X or later, swipe down from the top-right corner of the screen to do this. On earlier models, swipe up from the bottom of your screen.
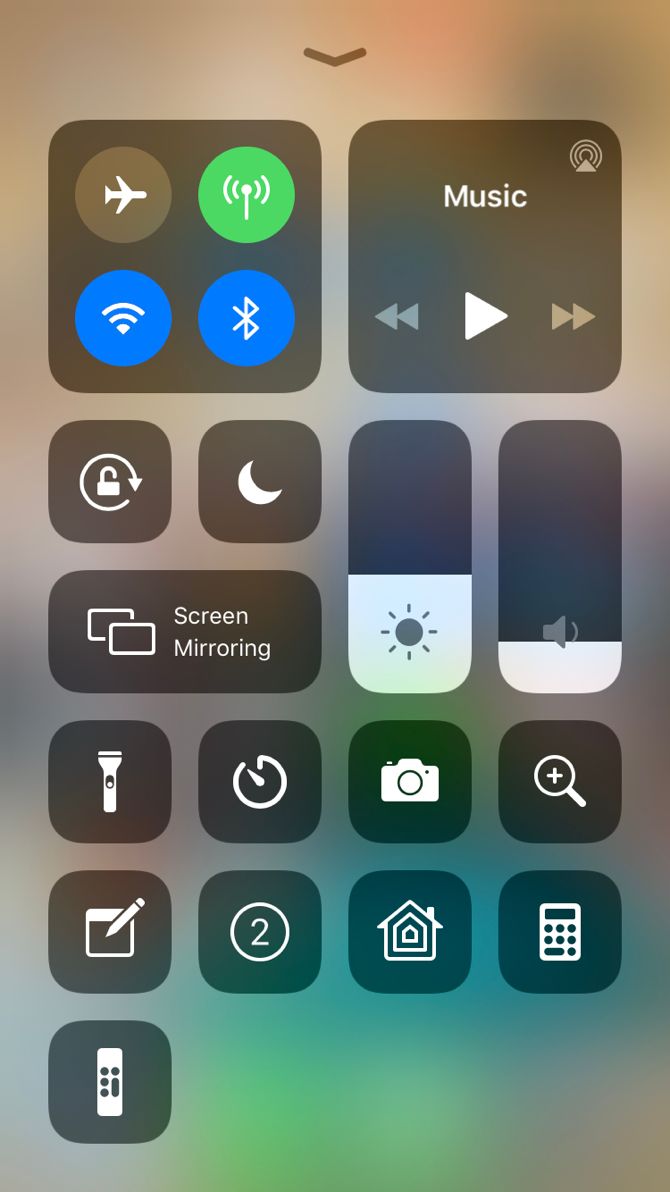
- Tap the Screen Recording button and you’ll see a three-second countdown before your phone starts recording. This gives you time to get your screen ready.
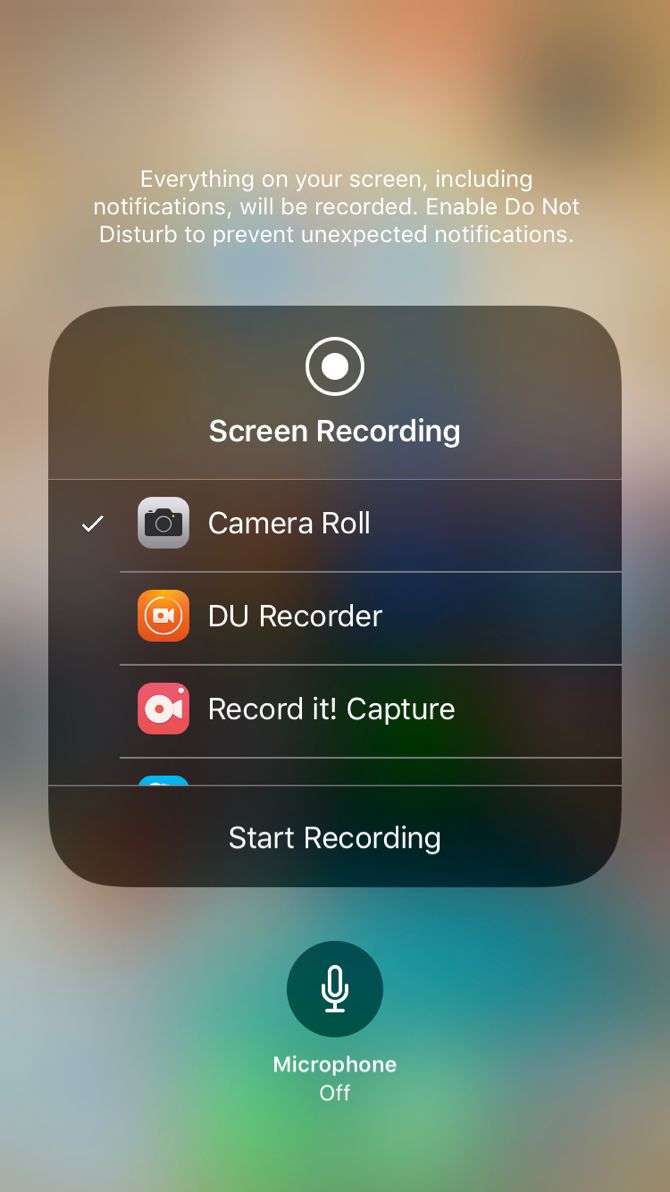
- If you want to capture audio while recording your screen, long-press the button and then tap the Microphone Off icon to turn it on.
- While recording, the bar at the top of your screen will be red.
Stop Your Screen Recording
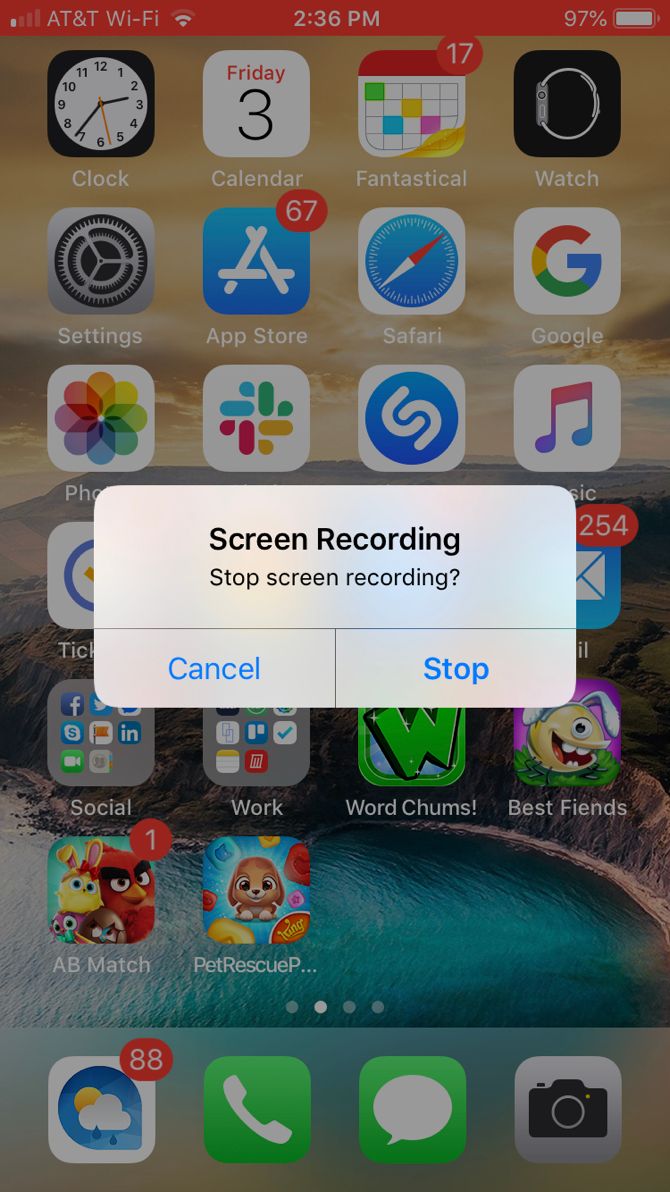
- To stop recording, you can tap the red bar at the top and confirm you want to end the recording by tapping Stop. Alternatively, you can tap the Screen Recording button in Control Center again.
- When you stop recording, you’ll see a notification that the screen recording has been saved to your Photos app.

How to Use iPhone Screen Recorder Apps
While the screen recording tool that comes with iOS works well enough, you might want to try a third-party app that offers additional features. There are many apps to pick from, but these three are free to download and easy to use.
1. TechSmith Capture

If you’re a fan of Snagit for computer screen captures, then you’ll like TechSmith Capture for iPhone and iPad.
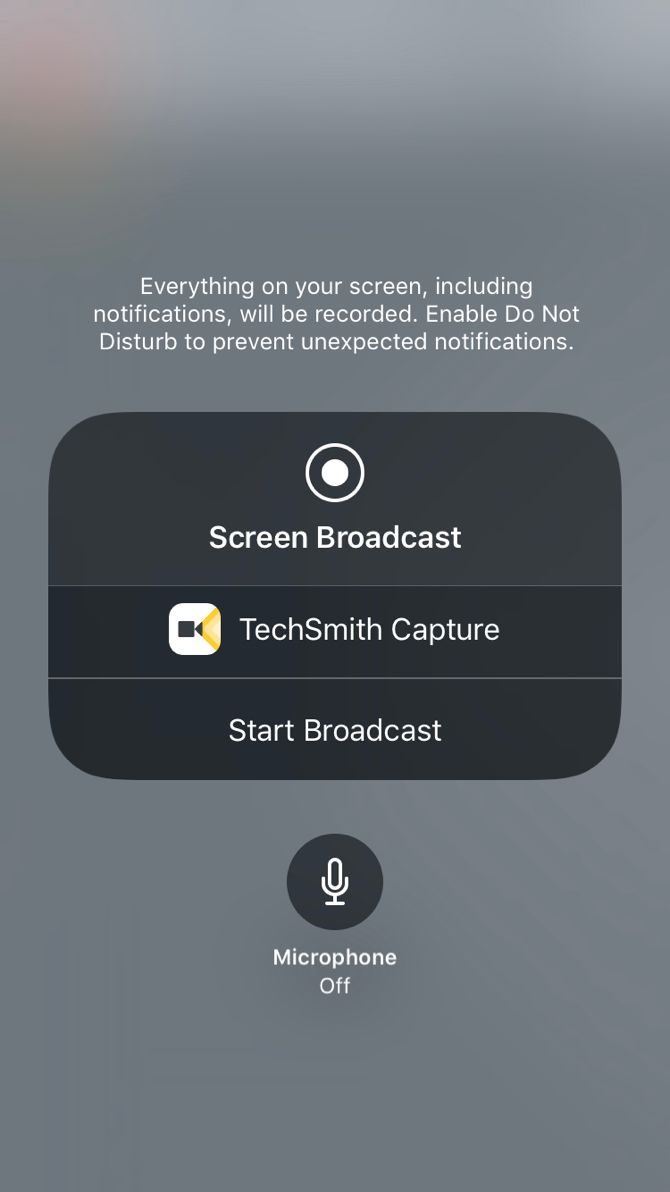
Tap the red button at the top of the app to start a recording and then select Start Broadcast on the next screen. If you want, you can turn on the microphone to record audio as well.
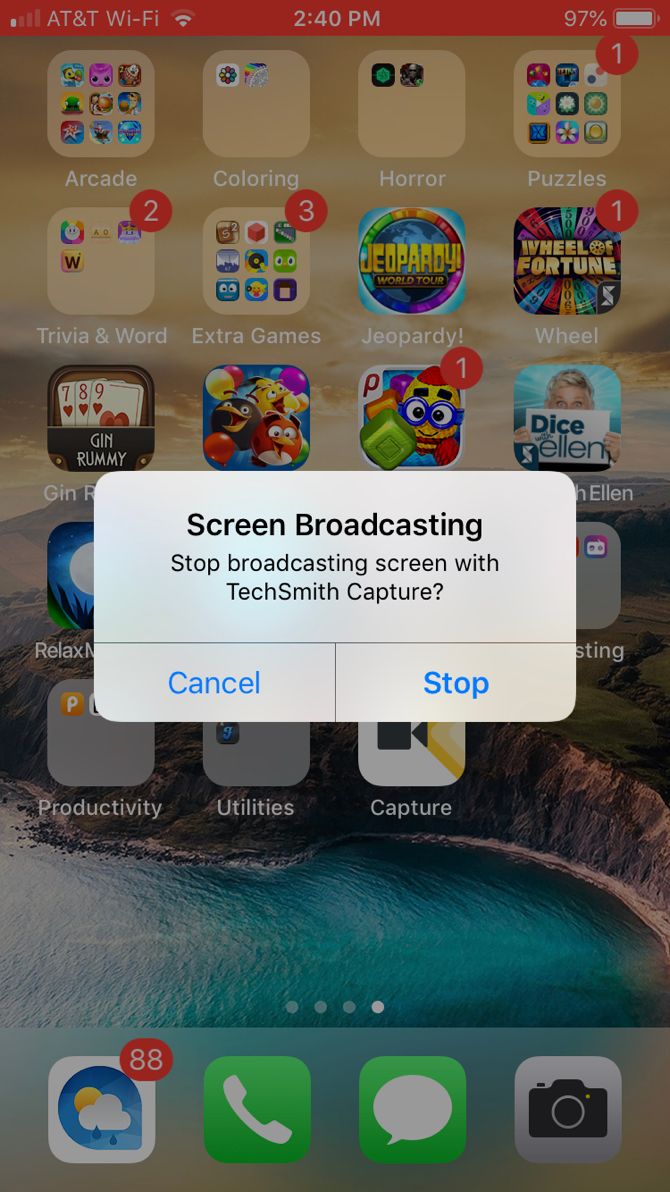
Just like the native tool in iOS, the bar at the top of your screen will show as red during recording. To stop recording, tap that red bar and select Stop. You’ll see a notification that your screen recording was saved.
Open the app and you’ll see the recording, which you can share if you like. Select an option from Camtasia, Snagit, TechSmith Relay, or one of your device’s sharing options. The sharing to Snagit option is ideal if you have Snagit installed on your computer.
Download: TechSmith Capture (Free)
2. Record It! Screen Recorder


Record it! Screen Recorder is another good option from the App Store. This app works almost identically to TechSmith Capture.
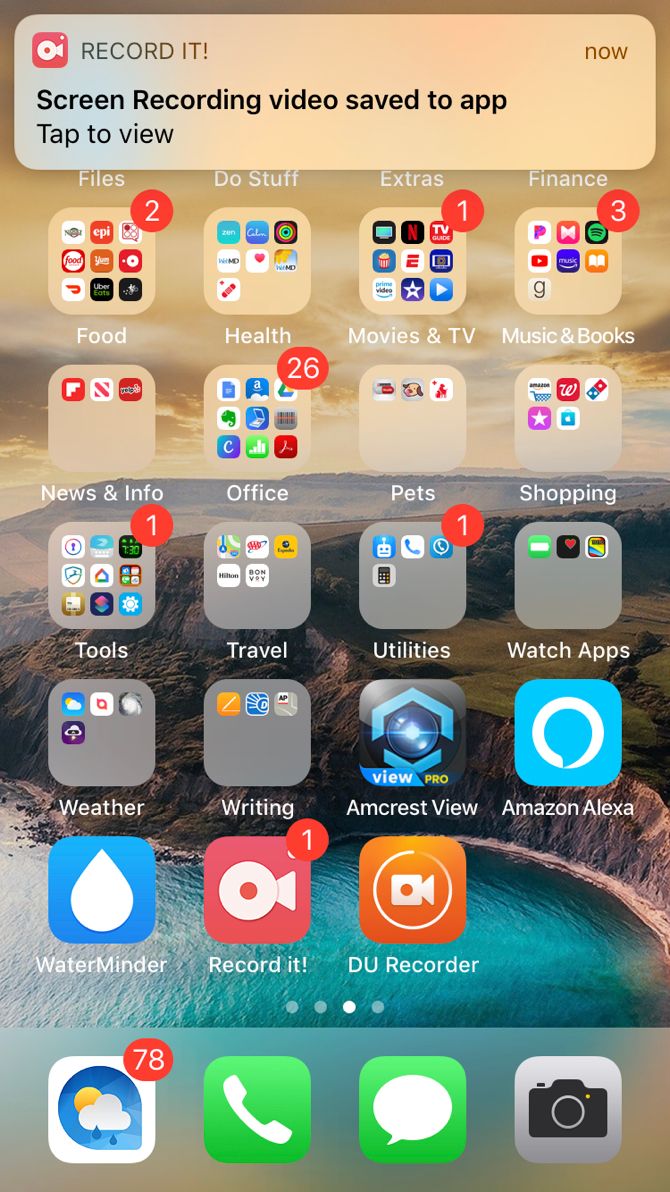
To start a recording, tap the red button and then select Start Broadcast on the next screen. Again, you can turn on the microphone if you would also like to record audio. The bar at the top of your screen will be red during recording. To end your recording, tap the red bar and select Stop. You’ll see an alert that your screen recording was saved.
Open the app to view your recording. From there, you can share it to your Camera Roll, YouTube, or one of your device’s sharing options. Record it! also offers a nice video editor for you to trim your recording, change the canvas size, add background color, and more.
Download: Record it! Screen Recorder (Free, premium version available)
3. DU Recorder
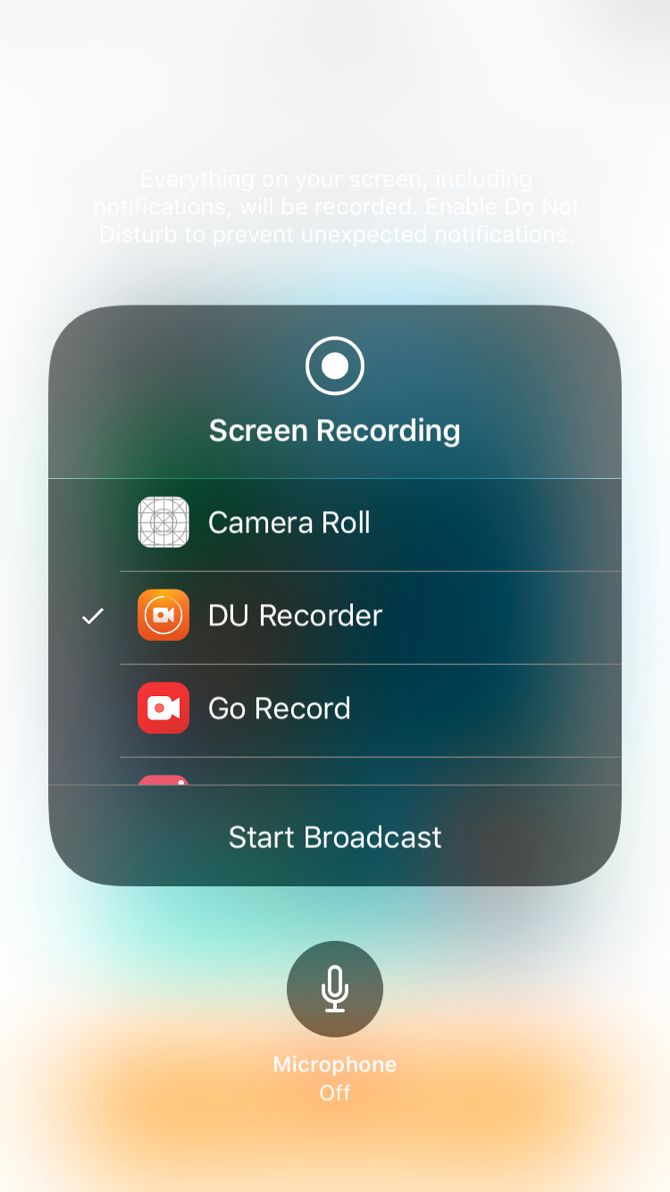
One more iPhone screen recorder app to check out is DU Recorder. This app works the same way for screen recordings as the two above. However, with DU Recorder, you start by tapping Record to Local Device if you want to save the recording to your Photos. Then tap Start Recording, select DU Recorder, and choose Start Broadcast.
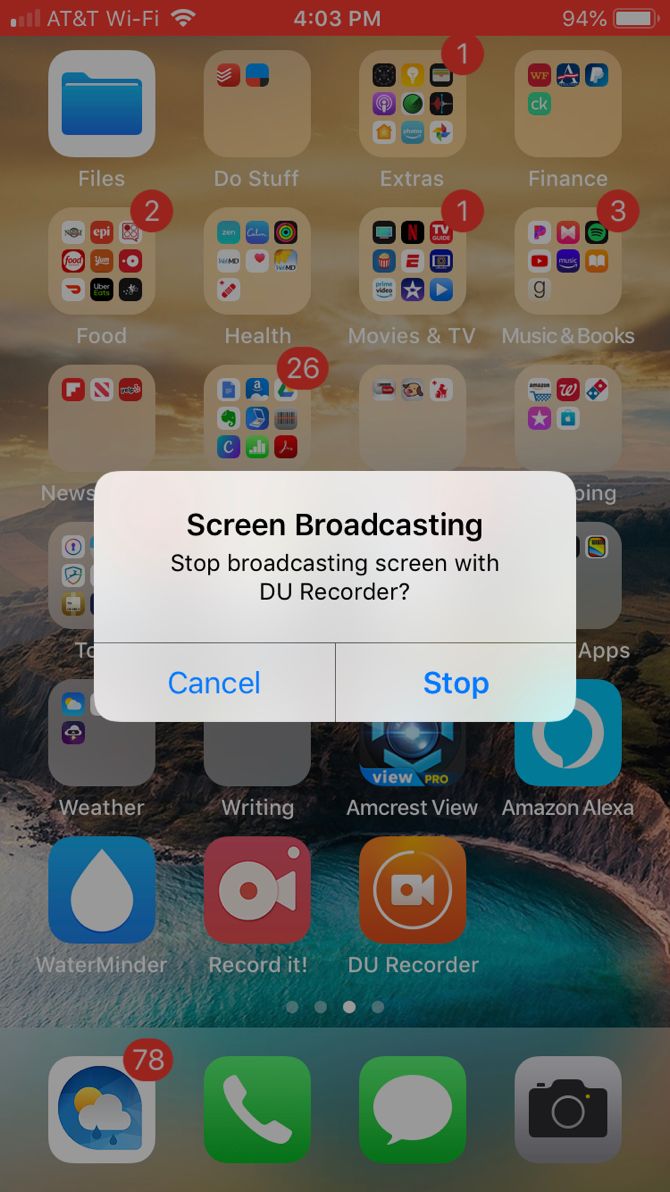
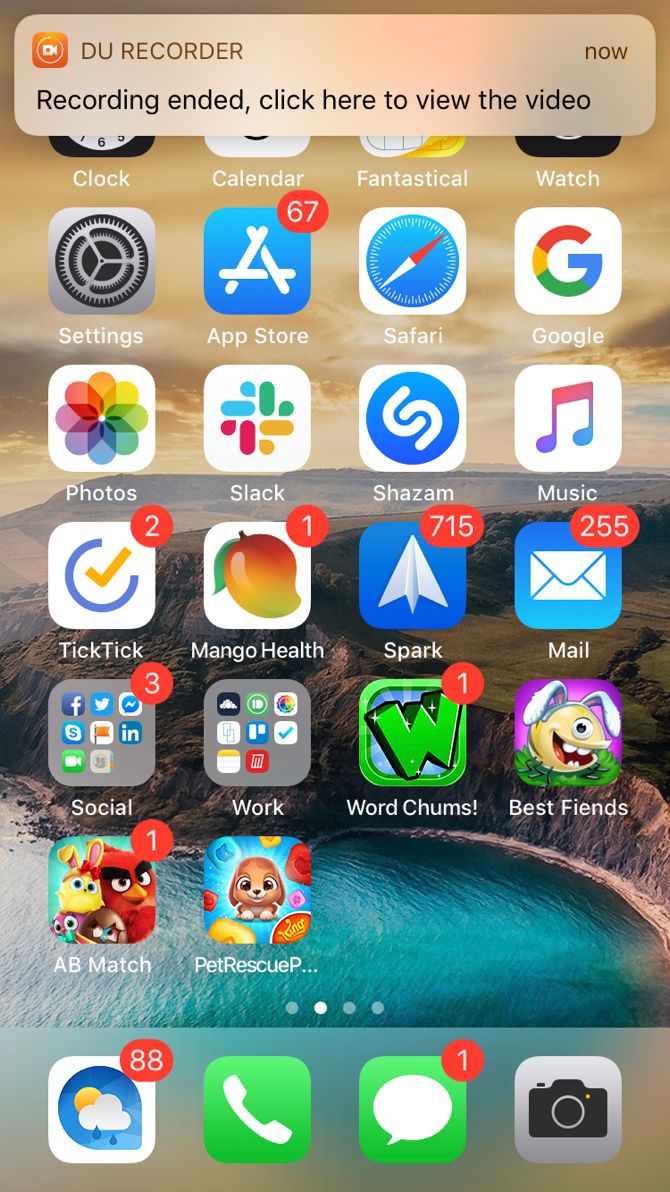
You’ll be greeted with the red bar at the top of your screen, just like the others. Tap the red bar to stop your recording and then tap Stop to confirm. You’ll see a notification that your recording was saved to your Photos.
DU Recorder offers extra features as well, including live streaming to YouTube, Facebook, and Twitch. You can also edit videos from within the app to trim, add text or music, and crop your recording.
Download: DU Recorder (Free, in-app purchases available)
It’s Your Turn to Create an iPhone Screen Capture
Now that you know how to use the convenient screen recording tool in iOS, as well as a few great apps from the App Store, it’s your turn. You can now create a great iPhone screen recording in just minutes.
And if you want to create a recording of your computer screen too, check out this tutorial on how to screen record on a Mac.
Read the full article: How to Record Your iPhone Screen


