

How to Clean a Dirty iPhone: A Step-by-Step Guide
Posted by TIM BROOKES
When your iPhone goes everywhere with you, it’s likely to pick up some dirt along the way. There’s only so much wiping the screen with your sleeve will achieve. Your phone is actually disgusting, and needs a cleaning.
However, you need to take care when cleaning your iPhone. You can’t just use anything you find in the cupboard, else you risk damaging it.
Today I’ll walk you through the steps of how I clean my dirty iPhone, and I suggest you do the same.
Step 1: Pop the Case Off

If you use a case, take it off before you start. You can clean the case separately, since its far more resistant to damage than your iPhone is. It’s also relatively cheap to replace the case if something happens to it.
Follow the manufacturer’s cleaning instructions if there are any. If not, use warm soapy water to dislodge dirt and grime from the case. Pay attention to the various openings including charging ports, mute toggle, volume rockers, and camera lens opening.
By ditching the case for now, you can easily see all the other dirt and grime that’s accumulated on your iPhone beneath the case.
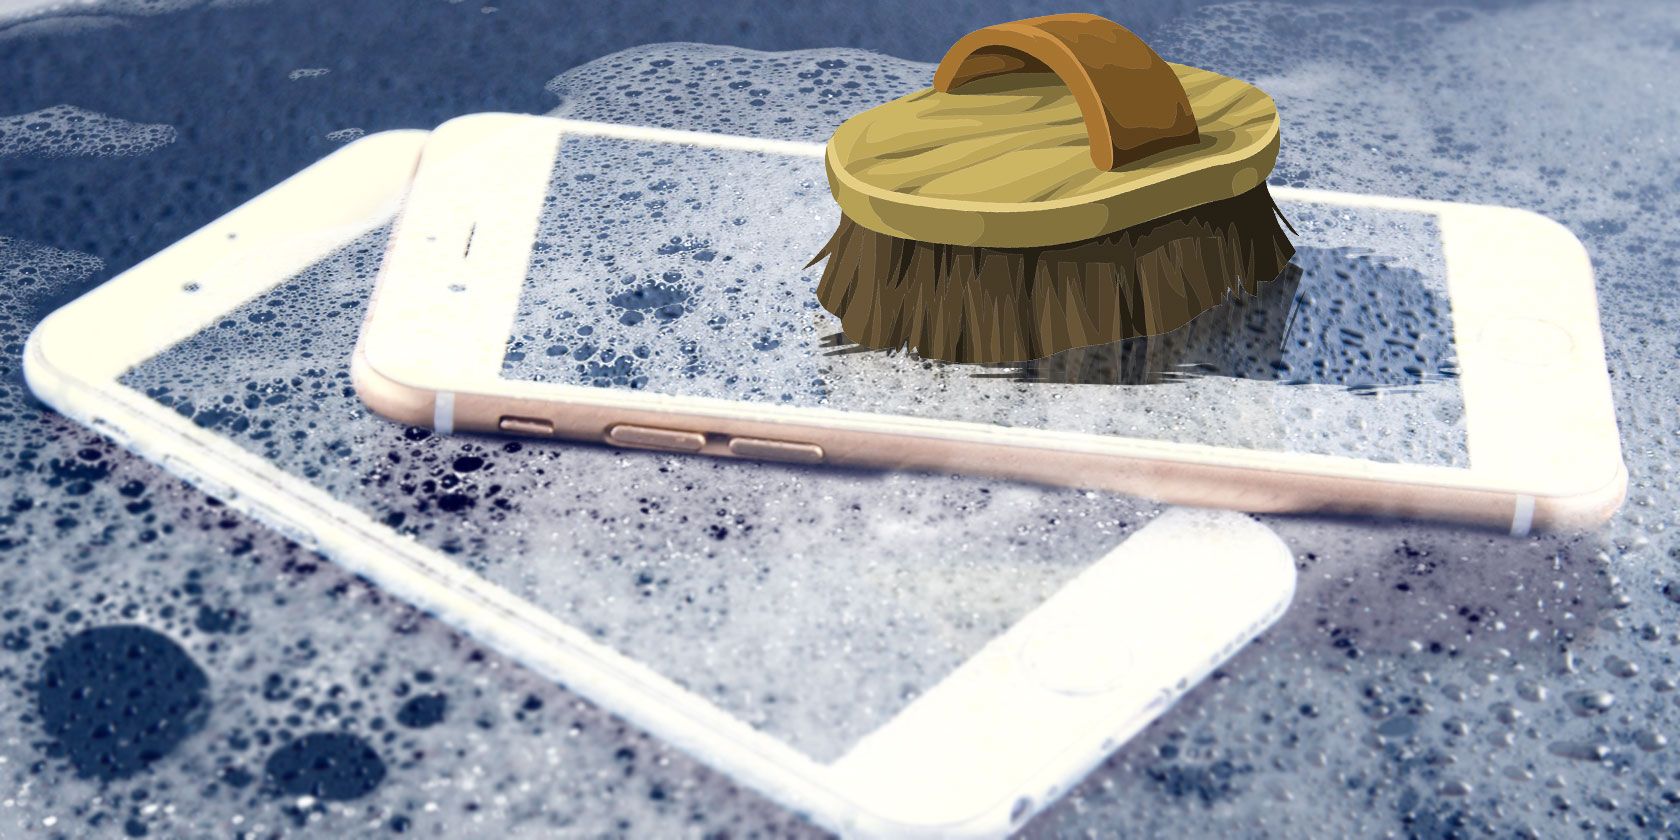
Step 2: Clean the iPhone Screen

The screen is the most delicate part of your device, so you’ll want to take extra care when cleaning it. Apple applies an oleophobic coating to your iPhone screen, which helps repel finger grease and oil. This also applies to the back of the iPhone 8 (our review), 8 Plus, and iPhone X.
In order to preserve the oleophobic coating, you should only use water to clean your iPhone screen. Do not use abrasive cleaners, glass cleaner, surface sprays, rubbing alcohol, or anything that promises to cut through grease. These substances will damage the coating on your screen.
Instead grab a soft, lint-free cloth and moisten it with tap water. You can buy these cloths for cheap online, in camera shops, or from opticians. They’re the same ones you use to clean glasses, camera lenses, and other coated scratch-prone surfaces.
While cleaning, try to go in the same direction so that you push the grease and dirt off the screen, rather than simply moving it around. The older your device, the more fingerprints you’re likely to notice. You can add a glass screen protector with fresh oleophobic coating if it gets really bad.
Step 3: Clean the iPhone Charging Port
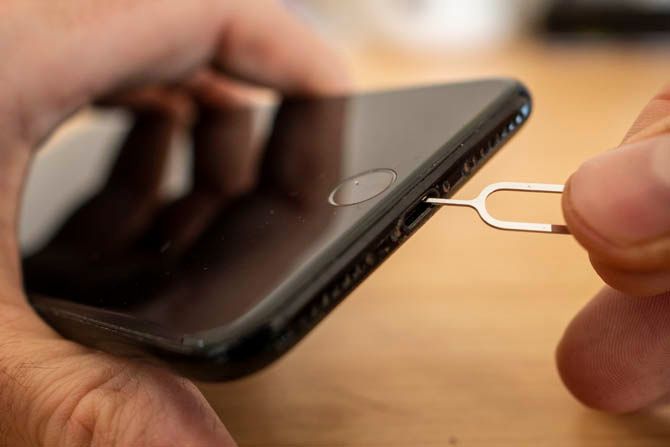
If your iPhone isn’t charging as reliably as it once was, the charging port might be to blame. Pocket lint, fluff, bits of paper, and other debris can become stuck and prevent the pins inside from making contact with your charger.
Apple advises against using compressed air for cleaning any part of your iPhone, and the charging port is no exception. I’ve taken iPhones to Apple for charging issues in the past, and every time they attempt to manually clean out the port before escalating the issue with a technician.
One of the best tools for cleaning the charging port is the SIM pin key that came with your iPhone. If you can’t find it, then a safety pin or similarly thin sharp object with a good point is your next best bet. Put the pin in the hole, and scrape out what you can. Wipe off what you find and repeat till it’s clean.
Apple does this with a surprising amount of force at the Genius bar, but I’d advise against going too hard. You might want to shine a light in the port to check for residual grime.
Step 4: Clean the Lightning Cable Contacts

Another reason your iPhone might not charge properly is the state of your Lightning cable. In particular, the contacts can press against the gunk that makes its way into the charging port. This results in grime build-up on the cable contacts that can prevent proper charging.
Unplug your Lightning cable before attempting to clean it. Wipe the contacts clean with a damp cloth until you can see them gleaming (they should be gold). This is also a good time to examine the cable for further signs of damage or wear.
Step 5: Clean the iPhone Microphone/Speaker Holes

The speaker and microphone ports are at the bottom of your iPhone, on either side of the charging port. This is one of the most difficult areas to clean, and one of the first parts of your iPhone to become filled with dirt.
Don’t use compressed air, since the pressure may be too much and could damage your iPhone or compromise the IP67 water resistance. Instead, take a fine, super-soft toothbrush and lightly scrub the area to loosen stuck-on dirt. Take care not to apply too much force.
Some users online recommend using fine-point toothpicks when a toothbrush is not enough, but be careful you don’t push too hard and cause damage. Cleaning this area may improve audio quality and make your voice clearer in calls.
Step 6: Clean the Mute Toggle Switch

Every iPhone has a mute toggle switch along the left-hand edge of your device. Certain cases can really exacerbate the buildup of gunk, making it hard to clean and eventually hard to toggle the switch. If you never touch this switch (i.e. your iPhone is always on vibrate mode), it’s likely full of dirt.
With the case removed, take a fine toothpick and scrape any stuck-on grime out. Make sure you flip the switch a few times so you can clean both sides.
If this isn’t enough, a fine-point cotton swab with a dab of isopropyl alcohol should do the trick. It’s very important not to get any alcohol on the screen or other sensitive parts of your iPhone while doing this, since it can remove protective coatings.
Step 7: Other Spots You Might Have Missed

Some areas will need cleaning more often than others It’s always worth carrying a soft, lint-free cloth around in your bag for this purpose. In particular, pay attention to:
- Touch ID home button: For devices that have them, clean them regularly as you would your screen. Even a thin layer of grease can prevent your fingerprint from registering. Check out our other Touch ID troubleshooting tips for more ideas.
- iPhone X sensor array: The cutout at the top of the iPhone X’s screen is full of sensors, and they don’t work so well when there’s a layer of grease on the screen. If Face ID is failing, cleaning the sensor array should be your first move.
- Camera lens cover: Both the front and rear cameras are susceptible to grease buildup. Learn to recognize the signs of a dirty lens cover in the viewfinder of your chosen camera app, such as light streaks, blown out highlights, a foggy image, and difficulty focusing. Clean it regularly with a soft, damp lint-free cloth.
A Final Note on iPhone Water Resistance
If you have an iPhone 7, 7 Plus, 8, 8 Plus or the iPhone X, your phone is certified water resistant in line with the IP67 rating. This means it can survive being submerged for 30 minutes at a depth of just under five feet.
Apple achieves this rating with a rubber seal that protects the internals from moisture and dust. Over time this rubber seal can diminish, particularly if your iPhone sustains physical damage (like a cracked screen, or a dent in the chassis).
You should not expose your water-resistant iPhone to pressurized water, salt water, pool water, or anything other than plain old tap water. If you happen to drop your iPhone in the sea or pool, pick it up and rinse it off with tap water immediately.
Despite the water resistance applied to these models, they are not considered waterproof. You shouldn’t clean your iPhone simply by running it under a tap. Hot water is also a bad idea, since heat can kill iPhones (as can sudden temperature changes). Frequent exposure to running water may also accelerate the rate at which the oleophobic coating wears away.
Once you’ve physically cleaned your iPhone, you should also clean up the software side to free up some storage space.
Read the full article: How to Clean a Dirty iPhone: A Step-by-Step Guide


