

How to Block Emails on Your iPhone: 3 Methods to Know About
Posted by TIM BROOKES
There are many legitimate reasons to block an email sender. Maybe they’re a pesky scammer, perhaps they keep sending you irrelevant press releases, or maybe they’re an old acquaintance you just don’t want to deal with anymore.
Unfortunately, blocking an email address on your iOS device—be it the iPhone or iPad—isn’t quite as straightforward as you’d like it to be. That’s probably why you had to search the web for an answer, and why you’re here now.
Fortunately, help is at hand. Let’s take a look at how to block emails on your iPhone.
Why Can’t I Block Using Mail?
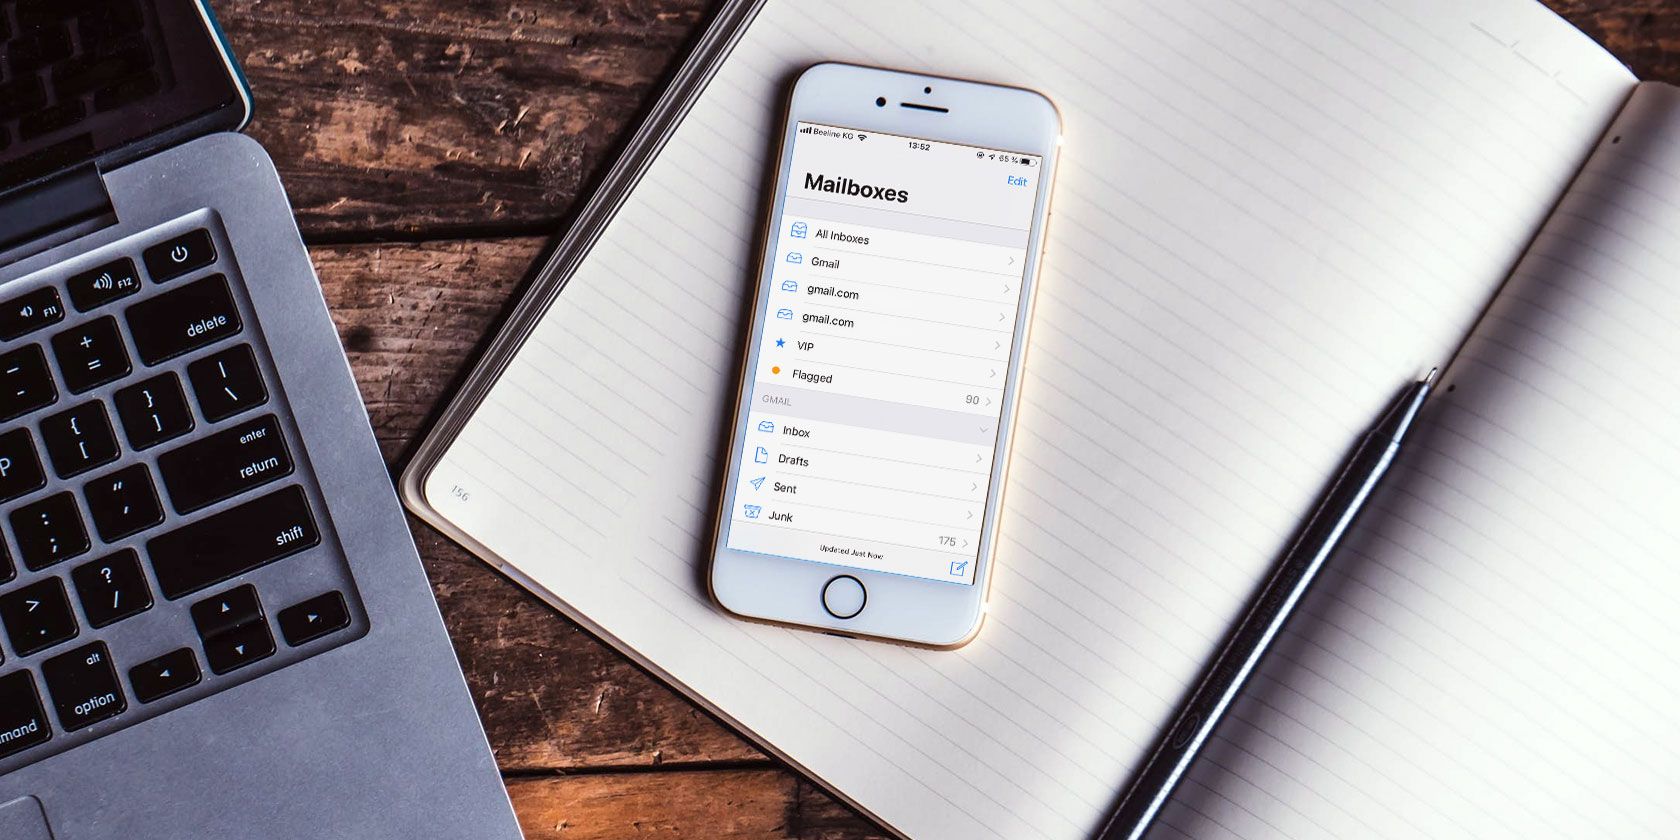
Apple’s Mail app is a basic but useful email client. It’s designed with multiple email providers in mind, so there’s no one-size-fits-all approach to mail blocking. The way each email provider handles this feature is different, so you can’t block senders simply by swiping or tapping a button in the app.

For this reason, it’s best to think of Mail as an interface for your mail provider rather than an extension of the service itself. Blocking a contact on your iPhone won’t necessarily prevent them from reaching you by email, even if you have their email address listed in the contact information. Blocking in iOS only affects phone calls, FaceTime, and messages.
Other email apps will run into the same limitations unless they’re developed by your service provider. If you have multiple email accounts, you may end up with multiple email apps on your device for this reason.
Most email filtering takes place on the server. Rather than letting the email reach your inbox then redirecting it elsewhere, mail providers prevent the message from ever reaching the inbox by catching it as soon as it arrives.
In order to block mail in this manner, you’ll need access to your mail provider’s facilities. The easiest way to block an email sender is to log in using a desktop web browser so that you can access the full suite of features.
However, you can block an email address on your iPhone too. Let’s see how to block emails in several popular iPhone mail apps.
1. Block Gmail Messages on Your iPhone


In the case of Gmail, the best way of blocking a sender using your phone is to download the free Gmail app from the App Store. You can also use Safari to access the desktop version (more on this later), but in the case of Gmail that won’t work from a mobile device.
To block a sender in Gmail for iOS:
- Download the Gmail app from the App Store, launch it, and log in.
- Find an email from the sender that you would like to block and tap it.
- Tap the three dots in the top-right corner of the message.
- Choose Block “[sender]” from the dropdown box.
You don’t have to use the Gmail app to browse your email, but it might be worth keeping it around if you frequently need to block a sender on your mobile device. If you log into Gmail via a desktop browser, you can use the same method as above to block an email address.
2. Block Senders via Webmail in Safari
Most major webmail providers let you log in from a mobile device to access a mobile version of your inbox. From here, you can request the desktop version by tapping and holding the Refresh button in Safari, then tapping Request Desktop Site. Impressed? Check out more Safari tips.

In the case of Gmail, this still won’t provide you with access to blocking features. However, for most other major email providers—including Apple’s own iCloud, Yahoo! Mail, and Microsoft’s Outlook—you can access the mail-blocking function from a mobile browser.
To block a message server-side, log into your mail provider using a web browser, request the desktop site, then follow these instructions:
- iCloud: Tap the Settings cog in the lower-left corner, then choose Rules. Select Add a Rule then create a new If a message is from rule for the email address in question. Choose Move to Trash and Mark as Read for the action.
- Yahoo! Mail: Tap Settings in the upper-right corner of your inbox, then hit More Settings. Choose Security and Privacy, then on the next screen look for Blocked addresses and click +Add.
- Outlook: Tap Settings in the top-right corner, then choose View full settings followed by Options. On the next screen click Mail > Junk email followed by Blocked senders, and add any addresses you want to block.
Remember: If you have trouble using the desktop website on your mobile device, try logging in from a desktop browser on a Mac or PC. We’ve covered how to set up filters in Gmail, Yahoo, and Outlook to help you start.
3. Try Using Your Provider’s iOS App

Like Google, most providers have their own dedicated iPhone apps that provide access to many platform-specific features. If you can stomach having another email app on your iPhone, it’s probably worth downloading your provider’s app and using it to access features that the standard Mail app can’t.
Unfortunately, there’s no way we can test every mail provider on the web. On the plus side, these companion apps for mail services are almost always free, so it will only cost a few minutes of your time to find out.
Blocking Email on iPhone: Not So Simple
As we’ve seen, you’ve got three options if you want to maintain a healthy email blocklist from your iOS device:
- Download your provider’s app and hope it has blocking functionality built-in.
- Log in using Safari and request the desktop version of the site each time you want to block an email address.
- Wait till you get back to a computer and do it from there.
If you do take the first option, make sure you keep your notifications in check or you’ll get multiple alerts for every new email you receive. Learn how to control your iOS notifications for a better iPhone experience.
Read the full article: How to Block Emails on Your iPhone: 3 Methods to Know About


